DIY Louvred Roof Kits: Affordable Solutions for Homeowners
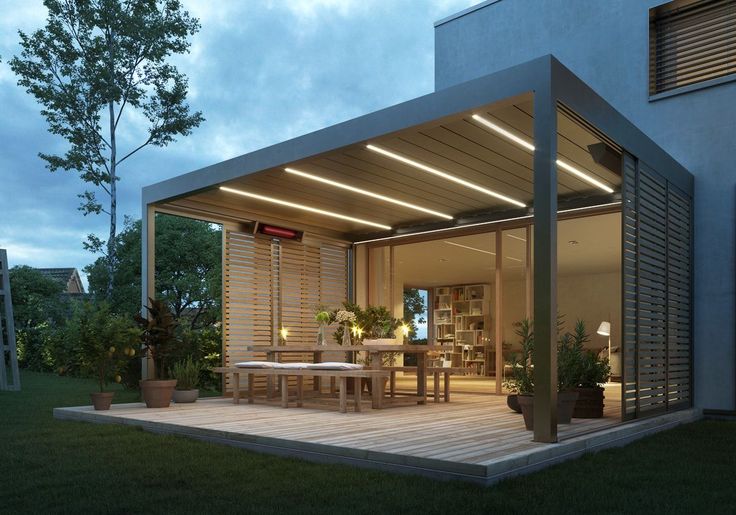
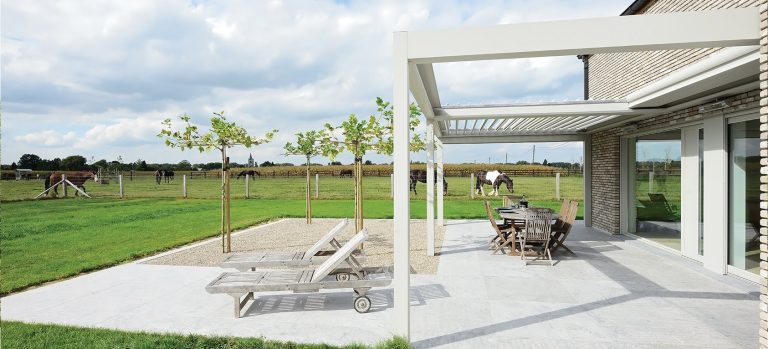
Looking to upgrade your outdoor space without breaking the bank? A DIY louvred roof kit offers a cost-effective and stylish solution for homeowners wanting to enhance their patio or backyard. With easy home installation, these kits provide adjustable shade and shelter, perfect for creating a comfortable outdoor living area.
In this article, we’ll explore the benefits of DIY louvred roofs, guide you through the installation process, and highlight top kits on the market. Whether you’re seeking flexibility, affordability, or style, a DIY louvred roof kit can transform your outdoor area into a functional and attractive space.
What is a DIY Louvred Roof Kit?
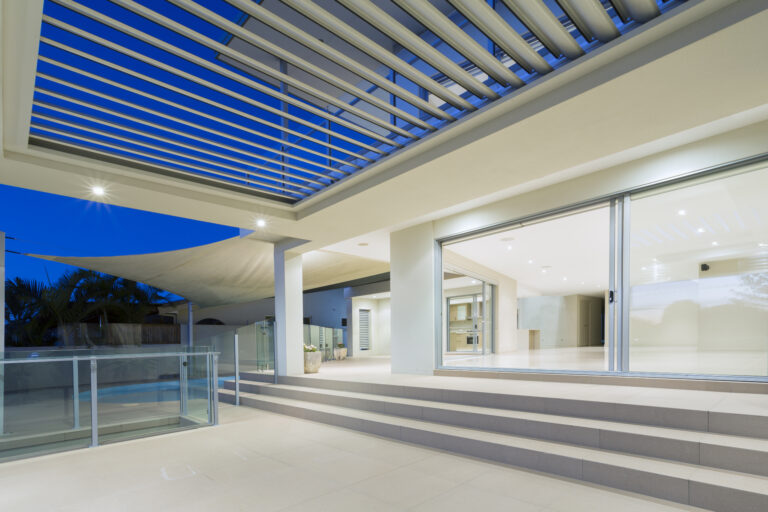
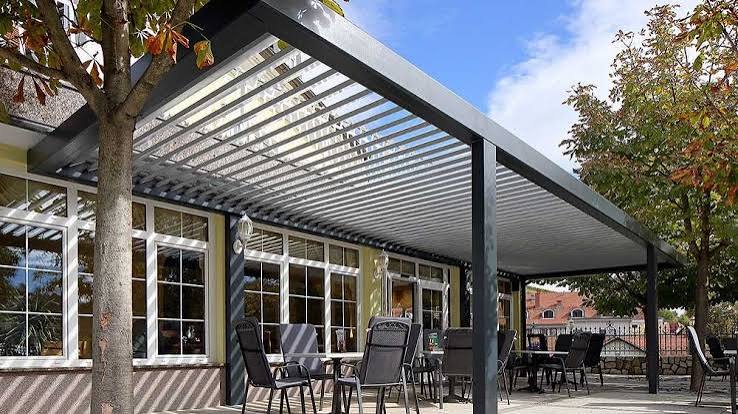
A louvred roof kit is a pre-packaged set of materials and instructions that allow you to build a louvred roof structure yourself. These roofs consist of adjustable slats (louvers) that can be rotated to control the amount of sunlight or rain that enters the space below. DIY kits make it easy for homeowners to set up a louvred roof without the need for professional installation, saving time and money.
Key Features of DIY Louvred Roof Kits:
Why Choose a DIY Louvred Roof Kit Over Traditional Patio Covers?
Cost-Effective and Customisable
Installing a traditional patio cover can be expensive, requiring professional labor and custom design work. On the other hand, DIY louvred roof kits are more affordable and allow you to customise your setup without spending a fortune. The kits come in various sizes and styles, enabling you to select the perfect match for your space.
Advantages Over Traditional Options:
How to Install a DIY Louvred Roof Kit: A Simple Guide
Installing a DIY louvred roof is simpler than you might think. Here’s a step-by-step guide to help you get started:
| Step | Action | Tips |
| 1. Planning & Measurements | Measure your space accurately. | Make sure the area is flat and clear of obstructions. |
| 2. Preparing Materials | Gather all the tools and components. | Follow the checklist in your kit to avoid missing items. |
| 3. Assembling the Frame | Begin building the main structure. | Assemble on a stable surface for safety. |
| 4. Installing Louvers | Attach louvers to the frame as per instructions. | Ensure they are aligned properly to avoid malfunction. |
| 5. Finishing Touches | Secure the structure and test the louvers. | Paint or decorate if needed. |
Additional Tips:
Tips for Saving Money:
Where to Purchase the Best DIY Louvred Roof Kits
When buying a DIY louvred roof kit, it’s crucial to choose reputable sellers who offer quality products and reliable customer service. You can checkout our Products.
Conclusion
A DIY louvred roof kit is a practical, stylish, and budget-friendly way to upgrade your outdoor living area. With adjustable louvers, easy home installation, and customisation options, these kits offer the perfect blend of comfort and control. By following the step-by-step guide and choosing a reliable kit, you can transform your patio or backyard into an inviting space for all seasons.
Frequently Asked Questions
How long does it take to install a DIY louvred roof kit?
Typically, installation can take anywhere from 4 to 8 hours, depending on the size of the kit and your experience level.
Are DIY louvred roof kits weather-resistant?
Yes, most kits are made from weather-resistant materials like aluminum or treated wood to withstand sun, rain, and wind.
Can I customise the size of a DIY louvred roof kit?
Many kits offer customisable sizes or have adjustable components to fit various spaces.
Is professional help needed for installation?
No, these kits are designed for easy home installation, but assistance may be helpful for larger setups.
Where can I buy a reliable DIY louvred roof kit?
You can find them on our product section easily.