DIY Louvred Roof Kit Australia Guide for Homeowners
Outdoor living is a major part of the lifestyle in Australia and New Zealand, where homeowners love creating functional, stylish, weather-smart spaces. One of the most popular upgrades is installing a DIY louvred roof kit, an affordable alternative to fully installed systems that still delivers the benefits of shade, ventilation, and modern architectural style.
This guide is your complete resource for choosing, installing, and maintaining a DIY louvred roof kit in Australia, including a step-by-step kit setup, cost considerations, installation tips, and FAQs.
Whether you’re enhancing your patio, deck, alfresco area, or backyard entertainment space, this guide gives you everything you need to achieve a professional finish with a budget friendly DIY solution.
What Is a DIY Louvred Roof Kit?
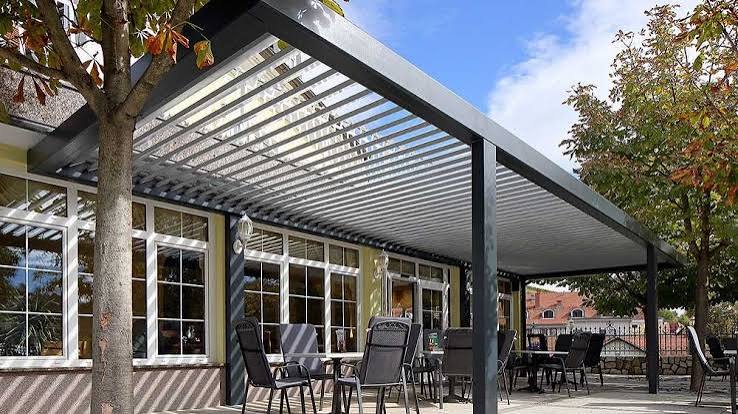
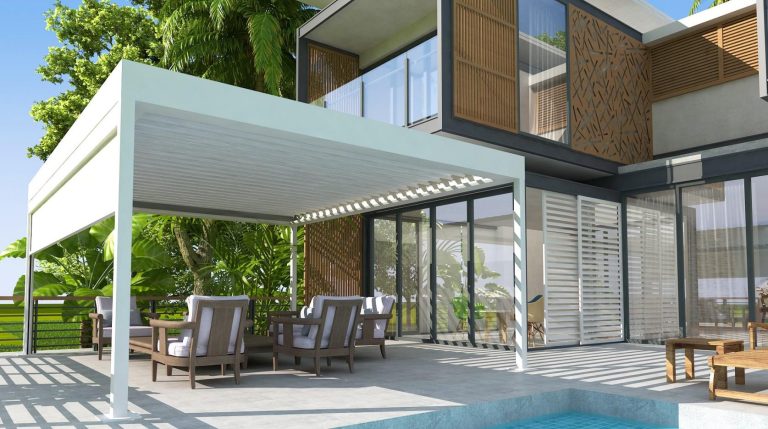
A DIY louvred roof kit is a pre-engineered, ready-to-assemble outdoor roof structure that features adjustable louvres you can open or close to control sunlight, rain, and airflow. Unlike professionally installed systems, these kits are designed for homeowners with basic to intermediate DIY skills.
Why DIY Louvred Roof Kits Are Popular in Australia & New Zealand
Australia and NZ have unique outdoor living needs:
DIY kits offer a cost-effective way to build a functional outdoor structure without depending on installers or waiting for long lead times.
Benefits of Installing a DIY Louvred Roof Kit
1. Affordability Compared to Custom Systems
Professionally installed motorised louvred roofs can cost $12,000–$30,000+.
DIY kits often cost 40–60% less, depending on size, material, and design.
2. Flexible Installation Timeline
You choose the installation day, avoiding delays or waiting for contractors.
3. Designed for Australian and NZ Climates
The best DIY kits use:
This ensures long-term durability in coastal, hot, and windy regions.
4. Easy Upgrades & Customisation
Most DIY kits allow optional add-ons such as:
5. Perfect for Renters & Outdoor Renovations
Free-standing or modular kits are ideal for renters who need removable, non-invasive solutions.
Types of DIY Louvred Roof Kits Available
1. Manual Louvred Roof Kits
2. Motorised DIY Louvred Roof Kits
Some brands offer pre-wired or smart-ready motorised kits.
Features include:
Motorised kits cost more but feel premium.
3. Freestanding DIY Kits
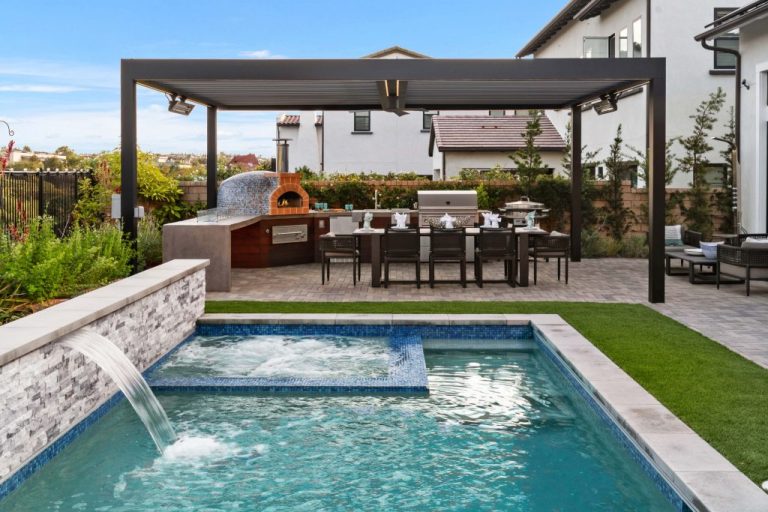
Perfect for open backyard spaces, poolside settings, or garden relaxation zones.
4. Wall-Mounted DIY Kits
Attach to the side of your home to extend your living space.
5. Modular DIY Louvred Roof Kits
These allow you to expand later, ideal for decks or commercial-style alfresco areas.
DIY Louvred Roof Kit Australia: What’s Included?
Although contents vary by brand, a typical DIY kit includes:
Higher-quality Australian and NZ-focused brands also include reinforced beams suitable for high wind ratings.
Step-by-Step Kit Setup (DIY Installation Guide)
Below is a simplified, general installation guide. Always follow your specific kit’s manual, but this offers a full overview of the core steps.
Step 1: Measure & Plan Your Setup Area
Before assembling:
Tip: Many councils in Australia and NZ allow DIY pergolas without approval if size stays under certain limits; always check local regulations.
Step 2: Prepare the Foundation
Depending on design:
For freestanding kits:
For wall-mounted kits:
Step 3: Build the Frame
Assemble the frame on the ground first:
Australian kits typically include reinforced aluminium which is lightweight but strong enough for easy assembly.
Step 4: Install Gutters & Drainage
Attach gutters along the edges according to the manual.
Ensure:
Drainage is important in Australian rainfall conditions, especially in QLD, NSW, and NZ’s North Island.
Step 5: Insert Louvres
Most kits allow you to slide louvres into pre-cut channels.
Step 6: Attach the Operating Mechanism
Manual kits:
Motorised kits:
Step 7: Secure the Structure
After assembly:
Step 8: Add Optional Features
You can enhance your DIY louvred roof with accessories:
Choosing the Best DIY Louvred Roof Kit in Australia
1. Material Quality
Choose marine-grade aluminium, ideal for coastal climates like:
2. Warranty
Look for 5–15 years warranty on:
3. Wind Ratings
Australia standards vary by region:
4. Kit Completeness
Avoid kits that require buying additional components separately.
5. Customer Support
Prefer brands offering local helplines, videos, and installation diagrams.
Maintenance Tips for Long-Term Durability
To keep your louvred roof performing well:
Coastal areas may need more frequent cleaning due to salt exposure.
DIY Louvred Roof Kit Australia vs Professional Installation
| Category | DIY Kit | Professional System |
| Cost | Low–medium | High |
| Installation Time | 1–2 days | Managed by professionals |
| Customisation | Moderate | High |
| Warranty | Medium | High |
| Motorisation | Optional | Common |
| Skills Required | Basic–intermediate | None |
DIY is ideal when you’re budget-focused and confident with tools.
Professional installation suits complex areas or premium automated systems.
Common Mistakes to Avoid When Installing a DIY Louvred Roof
Conclusion
A DIY Louvred Roof Kit in Australia is one of the most cost-effective ways to upgrade your outdoor living space while maintaining control over your budget, timeline, and design. With the right kit, proper installation, and high-quality materials suited for Australian & New Zealand climates, you can create a stylish, flexible, and weather-ready alfresco area that lasts for years.
This guide covered everything from kit types, pricing, installation steps, and maintenance to FAQs and expert tips, giving you full confidence to start your DIY outdoor project.
Frequently Asked Questions
Do I need council approval for a DIY louvred roof?
Approval depends on size and location. Many small pergolas don’t require it, but always check local state regulations.
Are DIY louvred roofs suitable for coastal areas?
Yes, choose marine-grade aluminium and powder-coated finishes.
Can beginners install a louvred roof kit?
Yes. Most kits are designed for DIY enthusiasts with basic tools.
How long does DIY installation take?
Typically 4–10 hours, depending on size and whether it’s freestanding or wall-mounted.
Can I motorise the roof later?
Some kits offer upgrade-friendly designs; check your brand for compatibility.
Are DIY kits durable enough for Australian weather?
High-quality kits meet wind ratings and UV exposure requirements for Australia.
What surfaces can I install it on?
Concrete, timber decks, pavers (with footings), or directly into soil with concrete anchors.
How long do DIY louvred roofs last?
10–20+ years with proper care.
Are the kits waterproof?
Most systems are water-resistant when louvres are closed, with integrated gutters.
Can I attach blinds or screens?
Yes, many DIY systems support Ziptrack-style blinds.