Louvred Roof Installation Guide for Stylish Outdoor Spaces
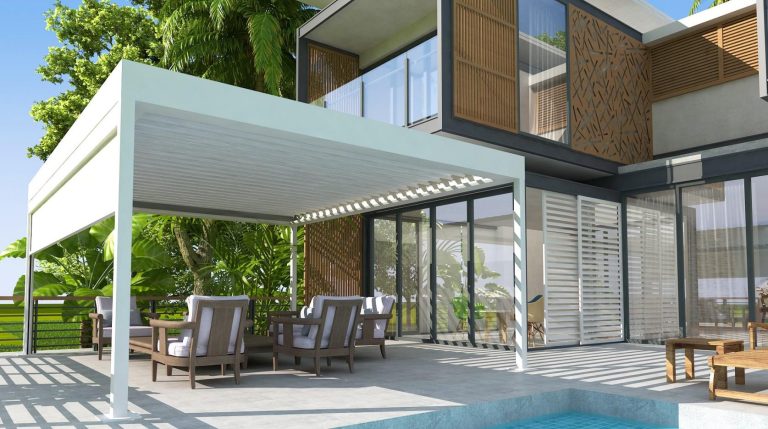
A professionally executed Louvred Roof Installation transforms patios, decks, and outdoor entertaining areas into flexible, all-weather living spaces. With adjustable aluminium louvers, you can control sunlight, airflow, and rain protection at the touch of a button, or manually, depending on the system.
In this comprehensive guide, we’ll cover everything you need to know about installing a louvred roof system, including planning requirements, tools needed, a step-by-step installation guide, expert tips, maintenance advice, and frequently asked questions.
What Is a Louvred Roof System?
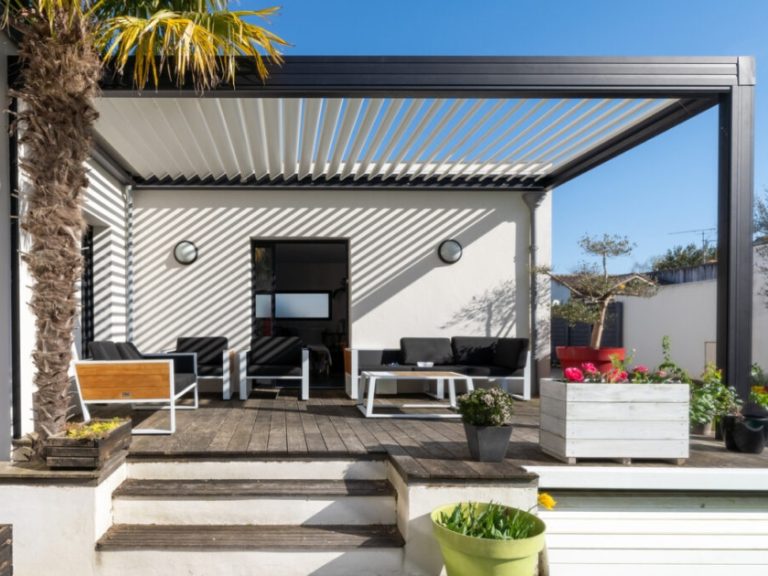
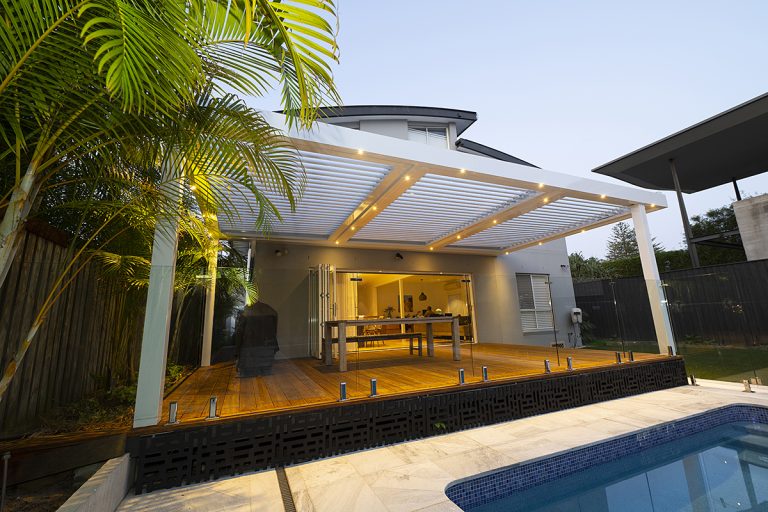
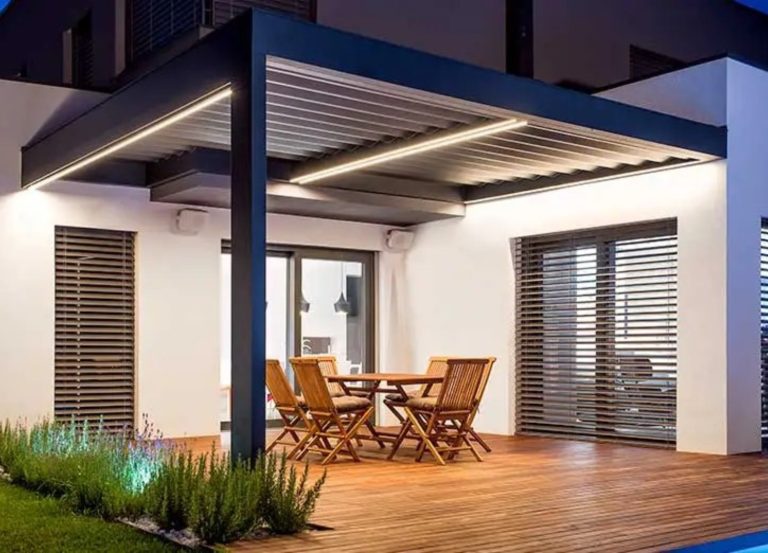
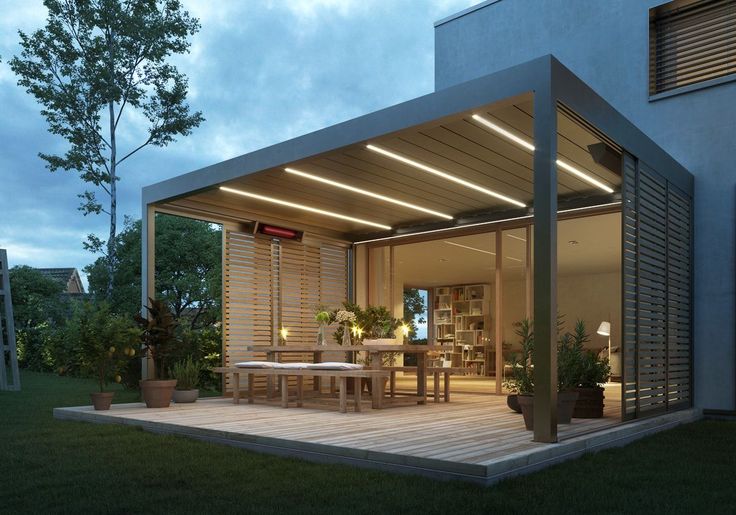
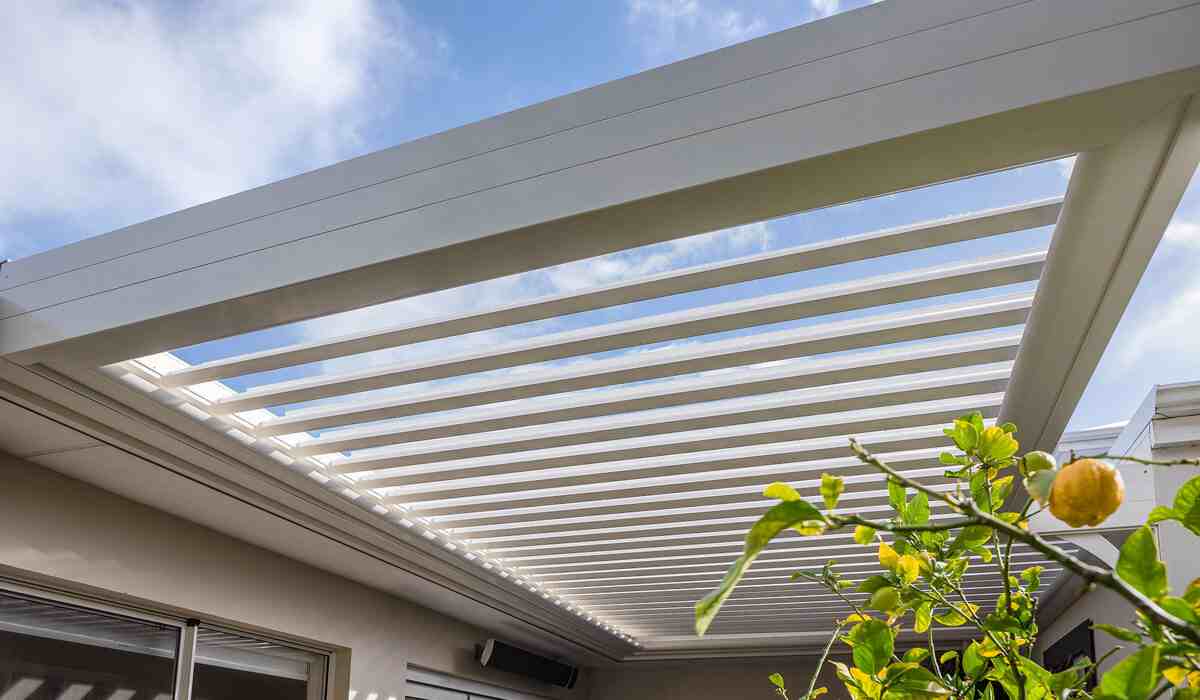
A louvred roof system is a modern pergola-style structure featuring adjustable blades (louvers) that rotate to control light, shade, ventilation, and rain protection. These systems are typically made from powder-coated aluminium and can be:
Many homeowners choose louvred patio roofs because they offer the versatility of an open pergola and the protection of a solid roof, all in one structure.
Benefits of Louvred Roof Installation
1. All-Weather Protection
Adjustable louvers close tightly to create a watertight seal, channeling rainwater through integrated gutter systems.
2. Climate Control
Rotate the blades to manage airflow and reduce heat buildup during summer.
3. Increased Property Value
A high-quality outdoor roofing solution enhances home appeal and resale value.
4. Modern Aesthetic
Sleek aluminium framing complements contemporary and coastal architecture.
5. Customisation Options
Choose from:
Types of Louvred Roof Installations
Understanding installation types helps you plan properly.
Wall-Mounted Louvred Roof
Freestanding Louvred Roof
Commercial Louvred Roof Installation
Planning Before Installation
Proper planning ensures structural integrity and compliance.
1. Check Local Building Regulations
Confirm council approval requirements for pergola or patio roof installations.
2. Measure the Area Accurately
Measure:
3. Assess Structural Support
Ensure your wall or slab can support:
4. Choose the Right System
Consider:
Tools Needed for Louvred Roof Installation
Having the right tools improves safety and precision.
Essential Tools
Safety Equipment
For motorised systems, you may also need:
Step-by-Step Louvred Roof Installation Guide
Below is a general guide. Always follow manufacturer instructions.
Step 1: Site Preparation
For wall-mounted systems, mark the ledger beam position carefully.
Step 2: Install Support Posts (Freestanding Systems)
Ensure posts are perfectly aligned to prevent frame twisting.
Step 3: Attach Ledger Beam (Wall-Mounted Systems)
This step is critical for load distribution.
Step 4: Assemble the Frame
A properly aligned frame ensures smooth louver operation.
Step 5: Install Gutter System
Most aluminium louvred roofs include integrated drainage.
Proper drainage prevents water pooling.
Step 6: Install Louvers
For motorised systems:
Step 7: Electrical Setup (If Motorised)
Electrical work should be performed by a licensed electrician.
Step 8: Final Adjustments & Testing
Professional Installation vs DIY
DIY Louvred Roof Installation
Best for:
Pros:
Cons:
Professional Installation
Pros:
Cons:
For large or motorised systems, professional installation is highly recommended.
Expert Tips for a Successful Installation
Maintenance After Installation
To ensure longevity:
Monthly
Quarterly
Annually
Proper maintenance ensures smooth operation for 10–20 years.
Common Louvred Roof Installation Mistakes to Avoid
Avoiding these mistakes ensures durability and performance.
Cost of Louvred Roof Installation
Costs vary depending on:
On average, expect pricing to range from mid to premium outdoor renovation budgets, depending on customisation.
Conclusion
A well-planned louvred roof installation delivers comfort, flexibility, and long-term value. Whether you choose a freestanding garden structure or a wall-mounted patio system, precision during installation is critical for durability and performance.
By following proper planning steps, using the correct tools, and ensuring structural compliance, you can create a versatile outdoor living space that adapts to every season.
If you’re considering upgrading your patio or outdoor entertainment area, investing in a high-quality louvred roof system is one of the smartest modern outdoor improvements available. For expert advice and solutions, explore our range of Blinds Sunshine Coast designed to enhance both indoor and outdoor living spaces.
Frequently Asked Questions
How long does louvred roof installation take?
Most installations take 1–3 days depending on size and complexity.
Do I need council approval?
In many areas, yes especially for large or attached structures. Always check local building regulations.
Are louvred roofs waterproof?
When fully closed, high-quality systems provide excellent rain protection with integrated drainage.
Can I install a louvred roof on an existing deck?
Yes, but the deck must be structurally reinforced to handle load requirements.
What is the lifespan of a louvred roof?
Powder-coated aluminium systems can last 15–20+ years with proper maintenance.
Are motorised louvred roofs safe in strong winds?
Most systems have wind ratings. Some include sensors that automatically open during high winds.
Can I add blinds later?
Yes, many systems allow retrofitting of zip blinds and side screens.
Is DIY installation recommended?
Only if you have strong construction experience. Professional installation is safer for complex systems.