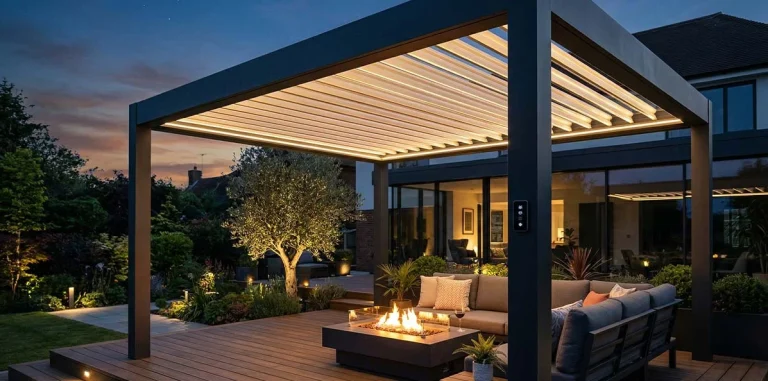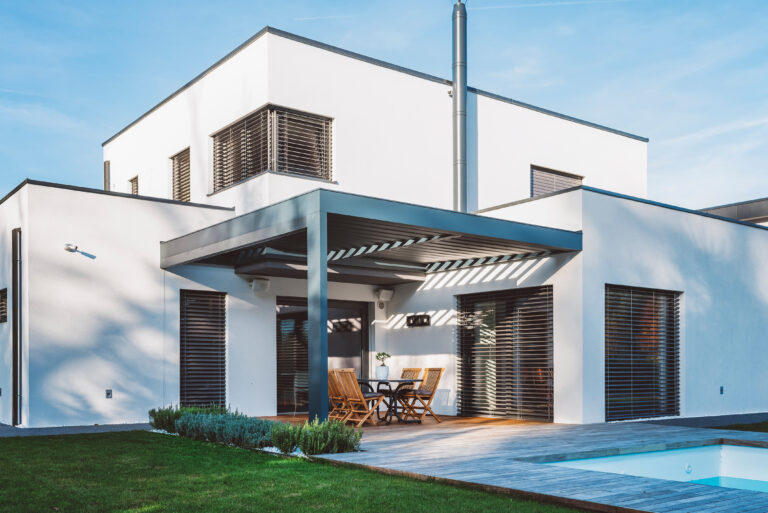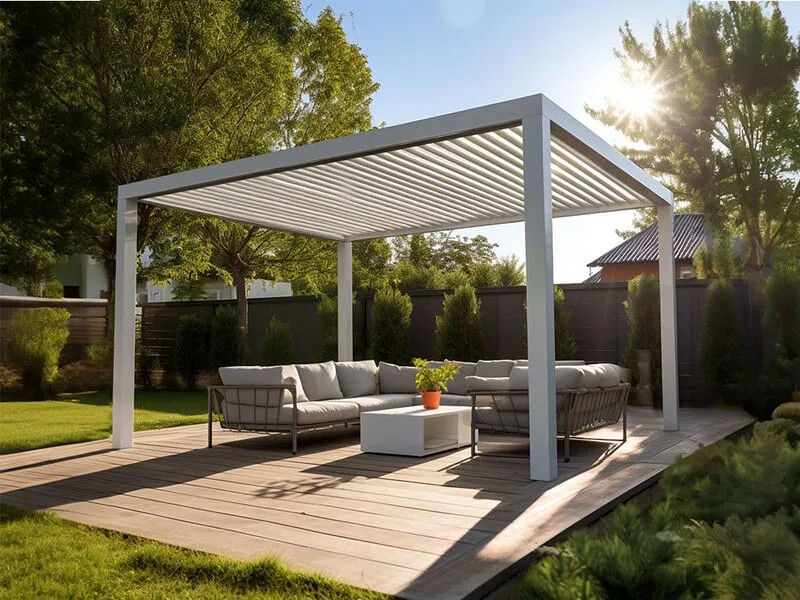
How to Build DIY Louvred Roof Pergola?
Looking to create a shaded, weather-resistant outdoor space? A DIY louvred roof pergola is the perfect solution! It allows you to control sunlight, ventilation, and rain protection with adjustable louvres, enhancing both comfort and aesthetics in your backyard.
A louvred pergola not only boosts your home’s curb appeal but also provides a cost-effective, customisable, and easy-to-install alternative to expensive professional installations. Whether you want a DIY pergola louvred roof system for your patio or an infinity reveal louvred roof for a sleek, modern touch, this guide will walk you through the entire process—from planning and materials to installation and maintenance.
By the end of this article, you’ll know:
However, if you prefer a professional installation or need high-quality materials, we’re here to help! Visit Louvred Roof Online for expert advice and top-tier louvre roof systems.
What is a DIY Louvre Roof?
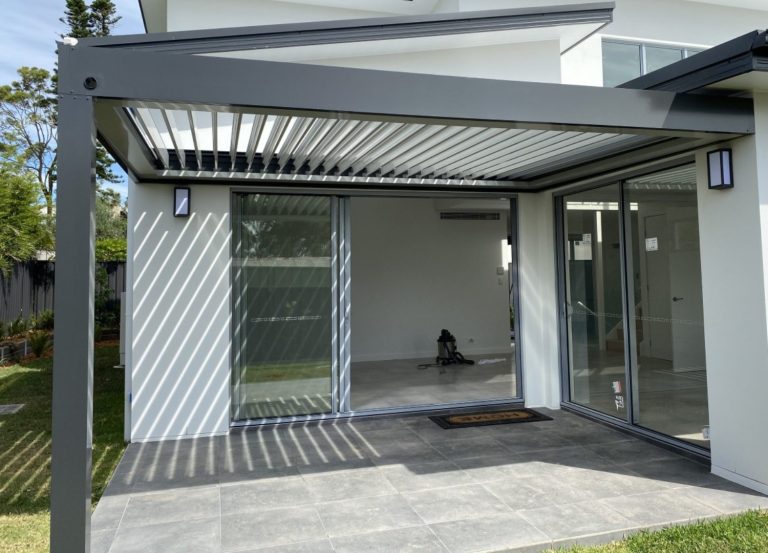
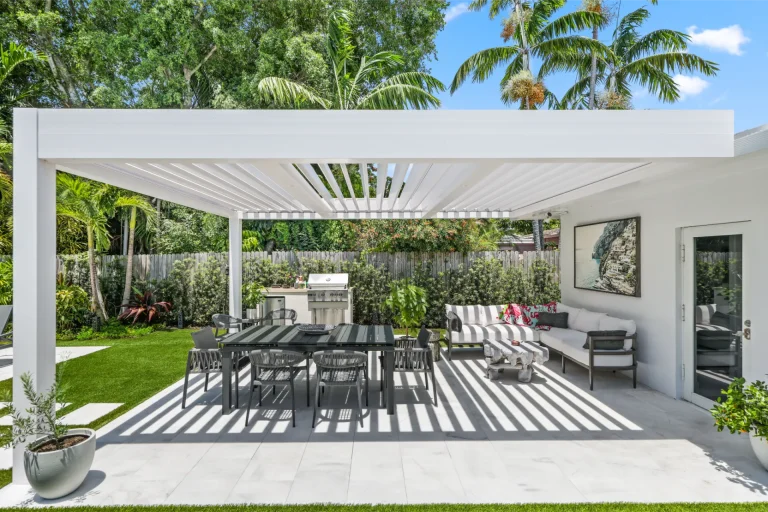
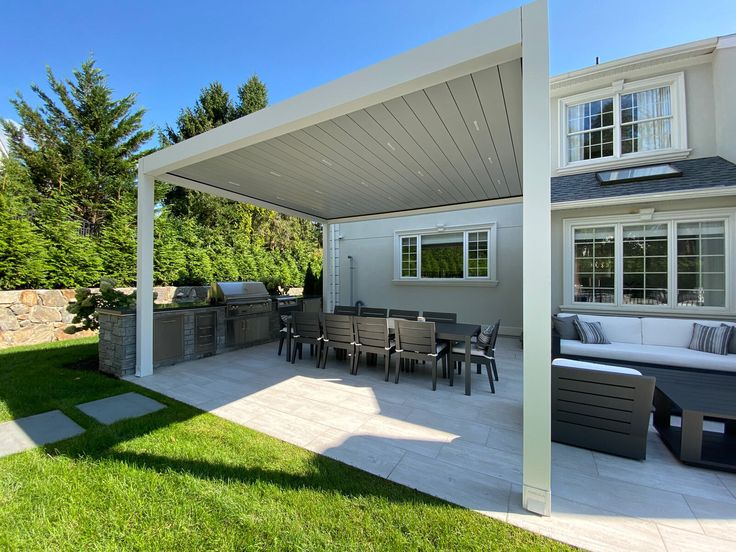
A DIY louvre roof is a versatile outdoor roofing system with adjustable slats (louvres) that allow you to control light, shade, and airflow. You can tilt the slats to open up for sunlight or close them to create a rain-resistant cover.
Key Benefits of a DIY Louvre Roof
Planning Your DIY Louvre Roof Project
Choosing the Right Design
Before you start, decide between:
Materials and Tools Needed
Essential Materials:
Tools Required:
Permits and Regulations
Step-by-Step Guide to Building a DIY Louvre Roof
Step 1: Preparing the Foundation
Step 2: Building the Pergola Frame
Step 3: Installing the Louvre System
Step 4: Weatherproofing and Finishing Touches
Estimated Time to Complete:
Maintenance Tips for a Long-Lasting DIY Louvre Roof
Why DIY Louvre Roofs Are Trending?
Conclusion
A DIY louvre roof is an excellent home improvement project that enhances your outdoor space’s functionality, aesthetics, and weather resistance. With adjustable louvres, you can control sunlight, shade, and ventilation, creating the perfect backyard oasis.
By following this step-by-step guide, you’ll have a stylish, durable, and cost-effective pergola that adds value to your home. Contact us at Louvred Roof Online for expert custom-built louvre roof systems and professional installation services. We offer premium-quality materials and tailored solutions to match your needs.
Frequently Asked Questions
How difficult is it to build a DIY louvre roof?
It depends on the design complexity. A manual louvre roof is moderately easy, while a motorised system requires more advanced skills.
Can I install a motorised louvre system myself?
Yes, but it requires electrical wiring and may need a professional for safety compliance.
What is the best material for a louvred pergola?
Aluminium is lightweight and rust-resistant, while wood offers a natural look but needs more maintenance.
How do I maintain my DIY pergola louvred roof system?
Clean louvres monthly
Lubricate moving parts
Check screws and fittings yearly
Does a DIY louvre roof add value to my property?
Yes! A well-built louvred pergola increases curb appeal and market value by enhancing outdoor living space.