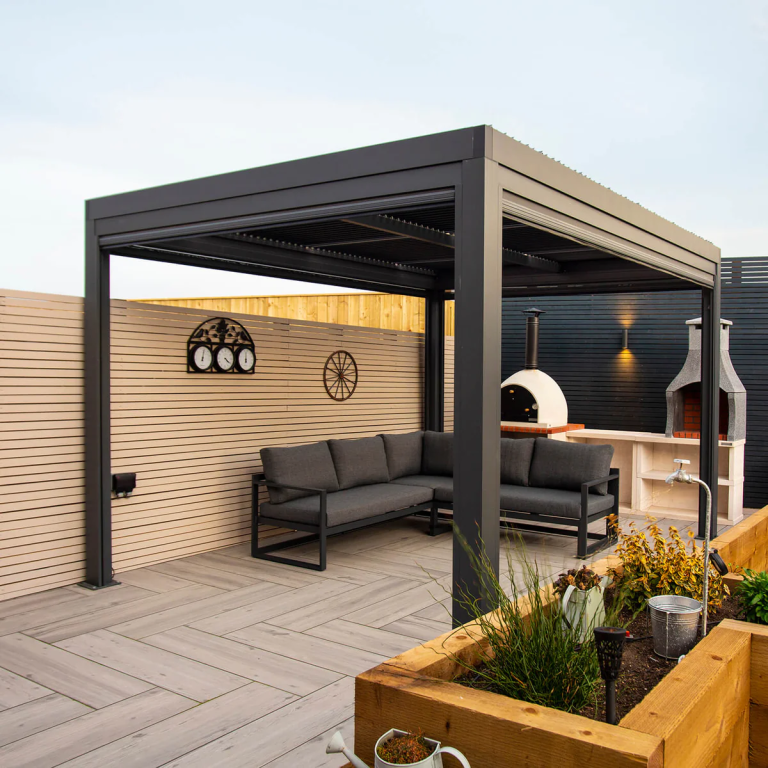
How to Install an Adjustable Louvred Roof: A Complete Guide
An adjustable louvred roof is a modern, practical addition to any outdoor space, offering unparalleled control over sunlight, ventilation, and weather protection. With adjustable louvers, you can easily manage the amount of light or airflow entering your patio, pergola, or outdoor kitchen, keeping it comfortable in all seasons.
In this guide, we’ll provide a detailed step-by-step process for installing an adjustable louvred roof, covering key assembly instructions and answering common questions such as how do louvred roofs work?, and which way should roof louvers face? By the end, you’ll be equipped with all the knowledge to enhance your outdoor area with a sleek, functional roofing system.
Tools and Materials You’ll Need
Tools
Materials
Having the right tools and high-quality materials will ensure a smooth installation process.
Pre-Installation Considerations
Before beginning the installation, consider these key factors to ensure success:
What is a Louvred Roof?
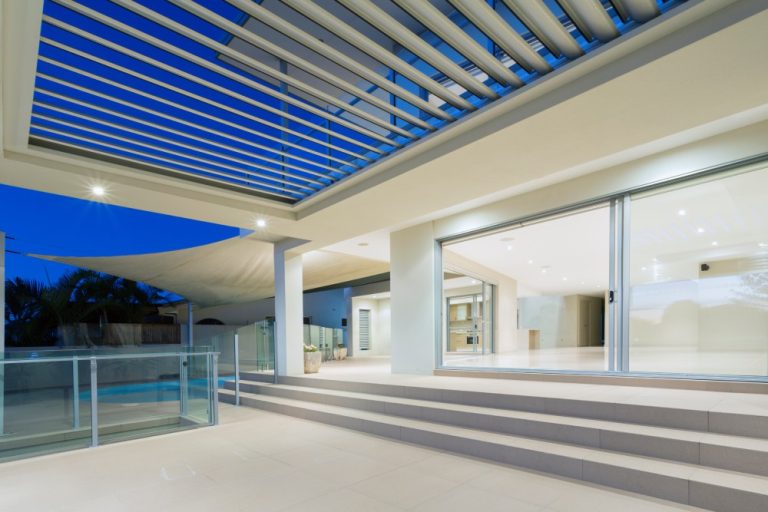
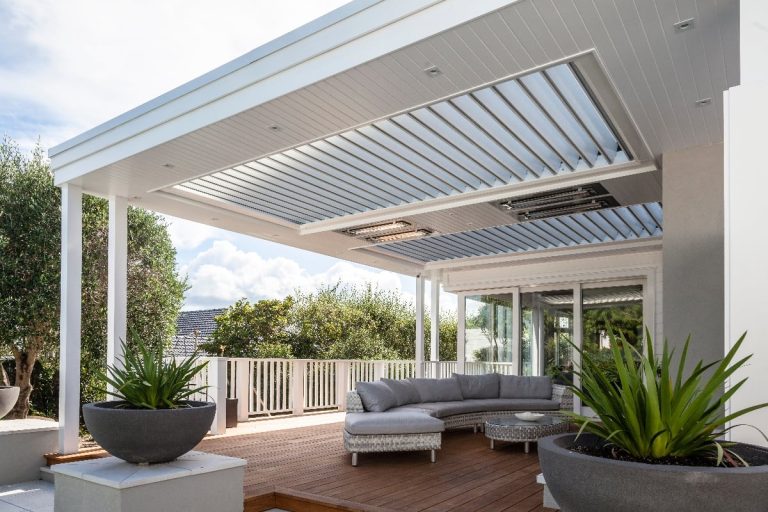
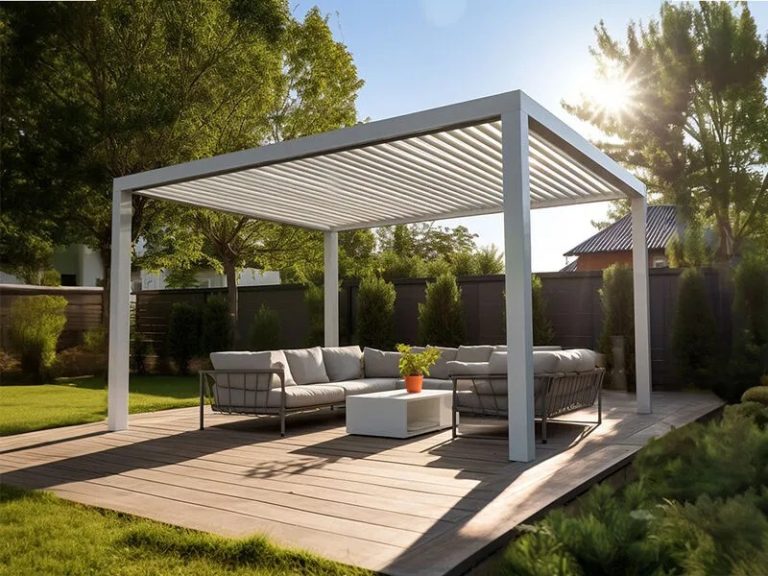
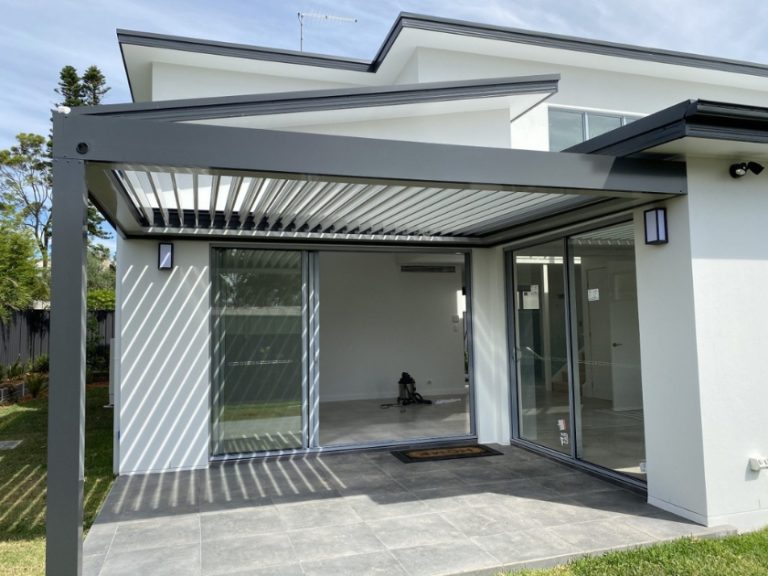
A louvred roof consists of adjustable slats (louvers) that rotate, allowing you to control the amount of sunlight, airflow, and even water that enters your space. These roofs can be adjusted manually or operated with a motorised system for added convenience and weather protection.
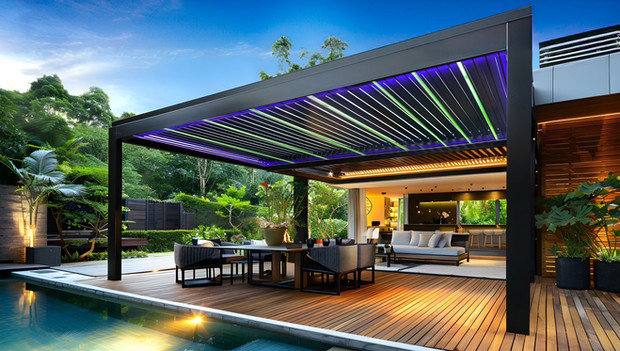
Location and Alignment
The orientation of the louvers is important to maximize efficiency. Which way should roof louvers face? Ideally, the louvers should be positioned to face the sun, providing optimal shade during the hottest parts of the day. However, consider local climate factors such as wind direction when aligning them for airflow.
Permits and Regulations
Check with your local authorities for any required permits and regulations governing outdoor structures. Some areas have strict rules regarding height limits, setbacks, and structural integrity.
Step-by-Step Adjustable Louvred Roof Installation
Step 1: Prepare the Site
Clear the area where the roof will be installed, ensuring that it is level and free of any debris. A stable, flat surface is crucial to ensure the longevity and safety of the structure.
Step 2: Attach the Base Plates
Install the base plates where the support posts will be placed. Secure them firmly with anchor bolts. Use a level to make sure the plates are even, as this will affect the overall stability of the roof.
Step 3: Install the Support Posts
Secure the vertical support posts to the base plates. Make sure they are vertically aligned by checking them with a level. Use anchor bolts to ensure they are tightly fastened and won’t shift over time.
Step 4: Add the Horizontal Support Beams
Next, attach the horizontal beams that will support the louvre panels. These beams are key structural elements, so double-check all measurements and make sure they are level before securing them in place.
Step 5: Attach the Adjustable Louvres
Now, install the adjustable louvers onto the horizontal support beams. If you’ve opted for a motorised system, this is the time to install the motor and connect the wiring. Test the motorised system by adjusting the louvers to ensure they open and close smoothly.
Step 6: Final Check and Testing
Once all components are installed, check every connection and fastener to ensure everything is securely in place. Operate the louvre system (whether manual or motorised) to test its functionality. Adjust the louvers to different angles and ensure they work as intended.
Maintenance Tips for Long-Term Use
To keep your louvred roof functioning efficiently and looking good, regular maintenance is essential:
Conclusion
Installing an adjustable louvred roof is a fantastic way to add comfort and versatility to your outdoor living space. Whether you opt for a manual or motorised system, this step-by-step guide ensures you can complete the installation smoothly and enjoy a stylish, functional roof for years to come.
For more information or to explore high-quality adjustable louvred roof systems, check out our product page for a customisable solution to meet your needs.
Frequently Asked Questions
How long does it take to install an adjustable louvred roof?
Installation typically takes 1 to 2 days, depending on the size of the roof and whether you are doing it yourself or hiring professional installers.
Can I install an adjustable louvre roof myself?
Yes, adjustable louvred roofs often come with aluminum pergola assembly instructions that make installation straightforward. However, if you’re working with a large or motorised system, it may be worth seeking professional help to ensure everything is set up safely and correctly.
Which way should roof louvers face?
For optimal sun control, it is recommended to face the louvers towards the sun. Adjusting the orientation based on your climate can also help with airflow and ventilation.
How do louvred roofs work?
Louvred roofs are made up of horizontal slats (louvers) that can be tilted to control sunlight and airflow. These slats can be adjusted manually or via a motorised system, allowing you to either let sunlight and breeze in or close them off completely for rain protection.
Are adjustable louvred roofs waterproof?
Yes, when fully closed, the louvers form a waterproof seal, protecting the space below from rain.