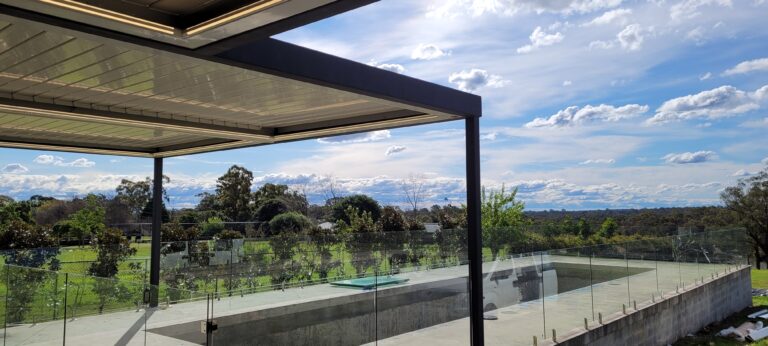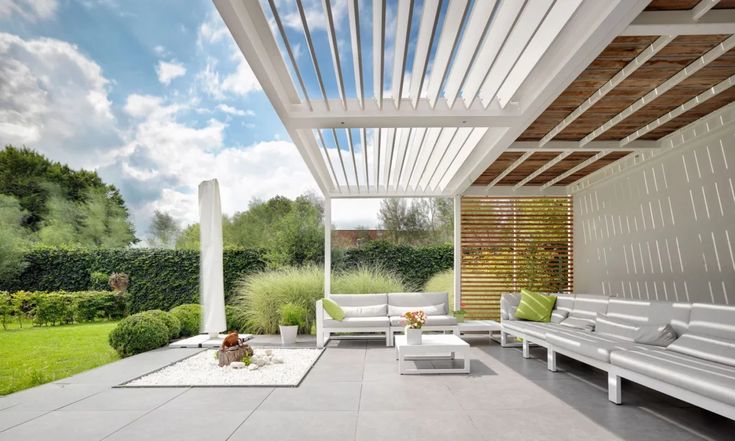
The DIY Louvred Roof Solutions | Cost Effective
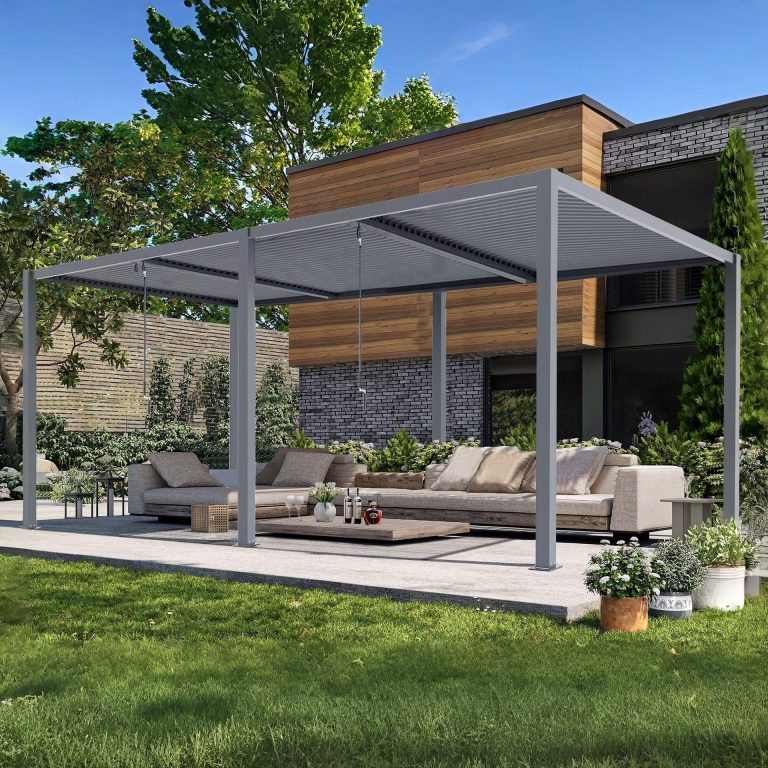
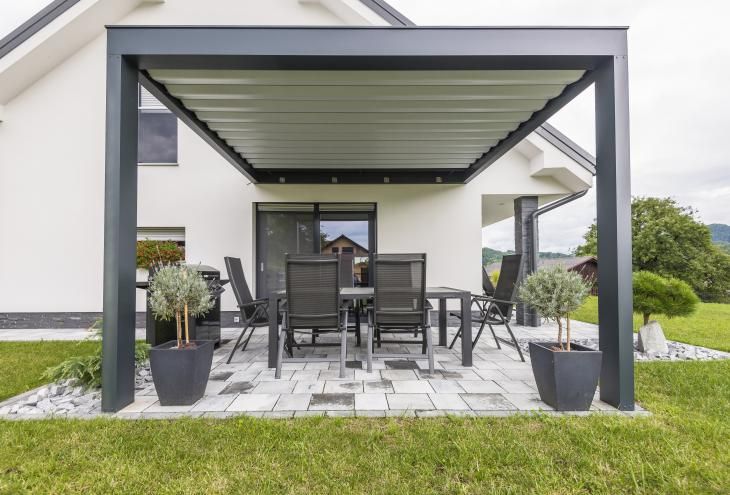
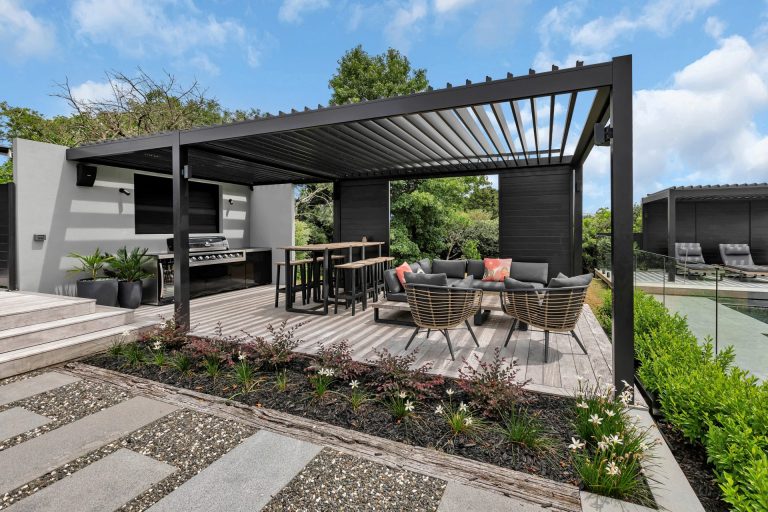
Transforming your backyard into a functional, stylish retreat doesn’t have to break the bank. With a DIY louvred roof solutions, you can achieve a cost-effective outdoor upgrade that combines practicality with aesthetic appeal. Whether you want to control sunlight, provide shade, or create a weather-proof space, a louvred roof DIY project is the ultimate solution.
A louvred roof enhances your outdoor area by offering adjustable slats that allow you to customise the amount of light, ventilation, and protection. Building one yourself not only saves money but also lets you tailor the design to your preferences. Plus, the sense of accomplishment from completing a project with your own hands is unparalleled.
Why Choose a DIY Louvred Roof Solutions for Your Backyard Makeover?
Affordable and Stylish
DIY louvred roofs offer the perfect blend of luxury and affordability. You get the same modern, sleek appearance as professionally installed roofs but at a fraction of the cost.
Practical and Functional
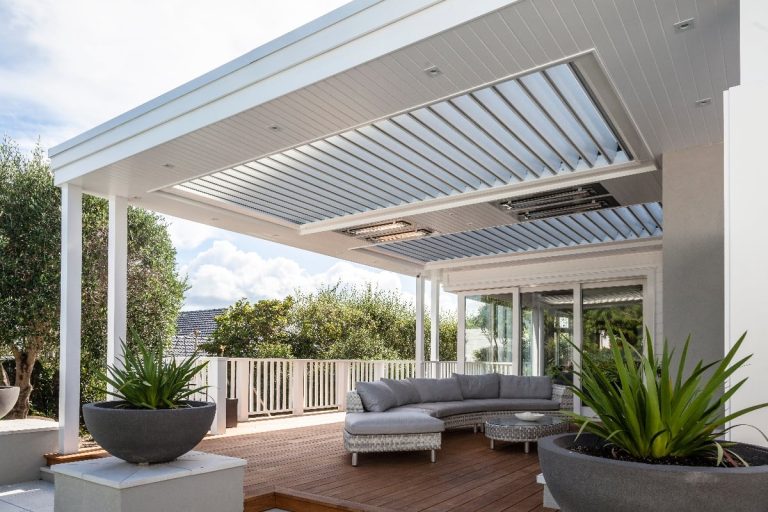
Adjustable slats let you control light and ventilation. Close them to shield against rain or open them to enjoy sunlight and fresh air.
Customisable Design
With a DIY approach, you can select materials, finishes, and designs that complement your outdoor space, making the roof uniquely yours.
Essential Materials and Tools for a DIY Louvred Roof Solutions
Materials You’ll Need:
Tools Required:
Budget-Friendly Tip:
Check for discounted materials at our products section.
Step-by-Step Guide to Building Your DIY Louvred Roof Solutions
Step 1: Measure and Plan the Layout
Step 2: Assemble the Frame
Step 3: Install the Louvres
Step 4: Add Automation (Optional)
Step 5: Final Touches
Conclusion
A DIY louvred roof solutions is an excellent way to achieve a cost-effective outdoor upgrade while adding style and functionality to your backyard. From customisable designs to affordable materials, the project offers endless possibilities for creativity and personalisation.
Start planning your backyard makeover today and enjoy the satisfaction of a stunning outdoor retreat that you built yourself. With the tips and steps in this guide, you’re well on your way to creating a space that’s both practical and beautiful.
Ready to get started? Explore DIY products and resources to bring your vision to life!
Frequently Asked Questions
Can I automate my DIY louvred roof?
Yes, motorised kits are widely available and easy to integrate. These kits let you control the slats with a remote, smartphone app, or even voice assistants like Alexa or Google Home.
How long does it take to build a DIY louvred roof?
The project typically takes 2–3 days, depending on the complexity and size of the roof. Automation may require additional time for setup.
What materials are best for DIY louvred roof solutions?
Aluminum is a popular choice due to its durability and weather resistance. Wooden slats can also be used for a rustic look but may require more maintenance.
Is a DIY louvred roof durable?
Yes, if built with quality materials and proper assembly, a DIY louvred roof can last for years. Regular maintenance, like cleaning and checking fasteners, will ensure longevity.
Can I install a louvred roof on an existing pergola?
Absolutely! Many DIY kits are designed to retrofit existing pergolas, making it a versatile option for enhancing your outdoor space.