DIY Louvre Roof Guide: Install Your Outdoor Shade Like a Pro
If you’re looking to upgrade your outdoor space with shade that adapts to your lifestyle and weather, a DIY louvre roof is the perfect solution. This guide walks you through everything you need, from planning and tools to step-by-step installation.
With self-install louvre kits, you can build a stylish, functional, and customisable outdoor roofing solution, without hiring a professional. Let’s dive into how you can complete this pergola DIY project like a pro.
What Is a DIY Louvre Roof?
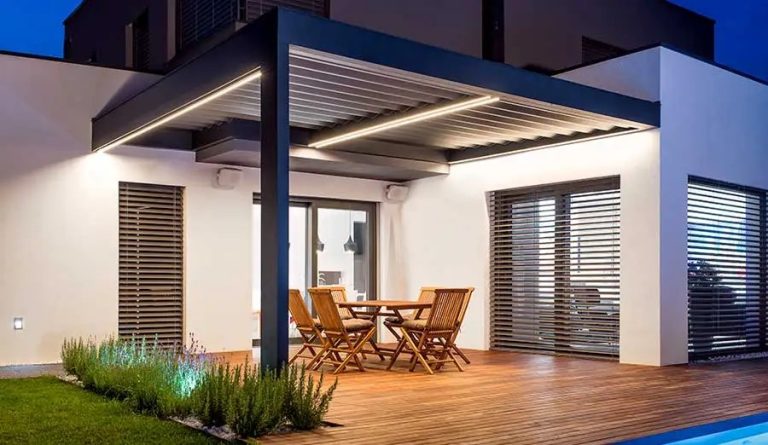
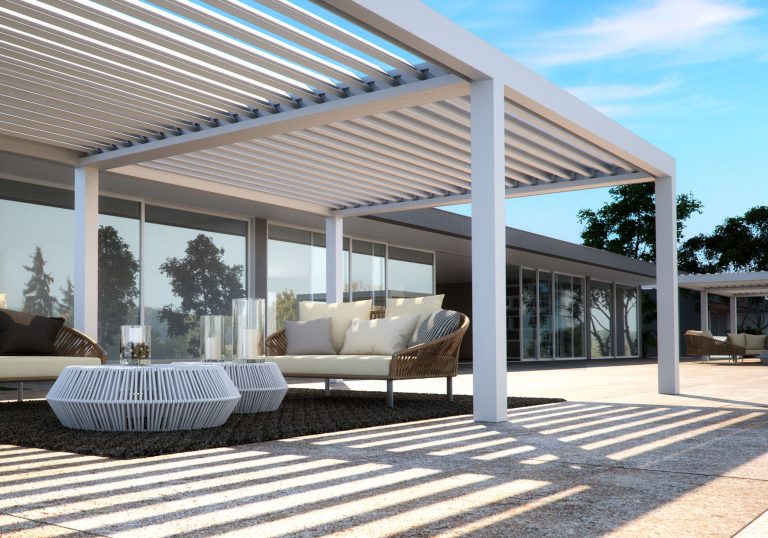
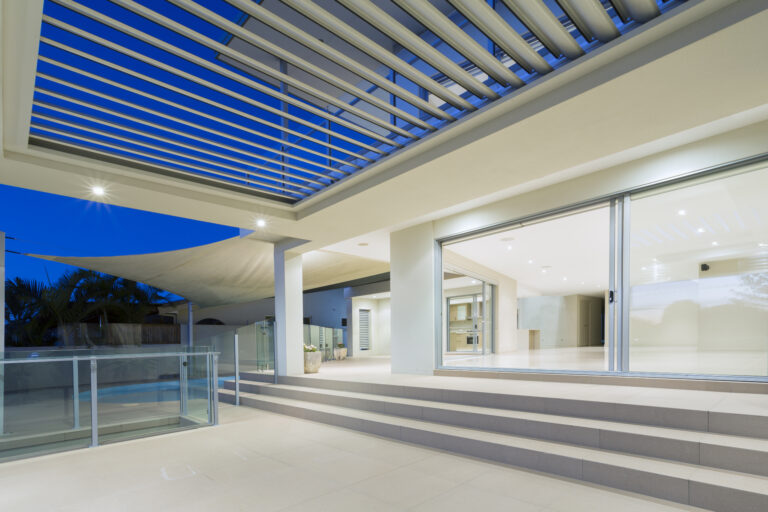
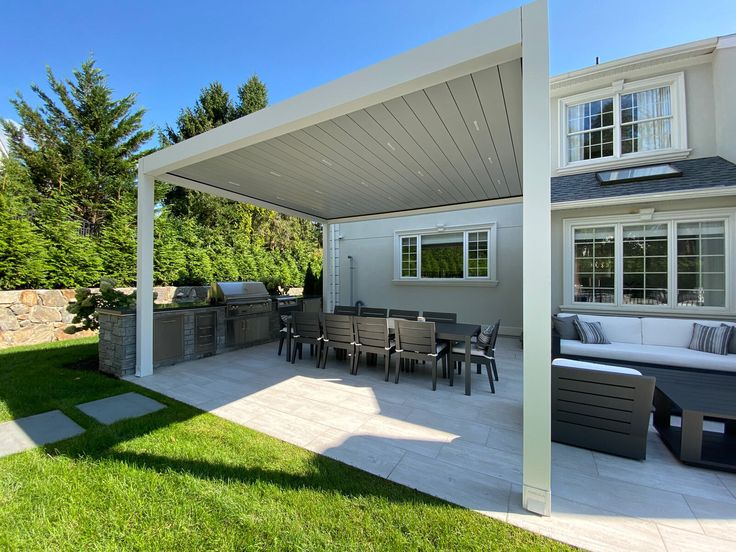
A louvre roof is a modern roofing system made of horizontal slats (or “louvres”) that can be adjusted to control sunlight, ventilation, and rain protection. These slats can be manually operated or motorised for remote control convenience.
Types of Louvre Roofs
| Type | Operation | Ideal For |
| Manual | Hand crank | Budget-friendly DIY |
| Motorised | Remote or app | High-end smart homes |
| Solar-powered | Sunlight-triggered | Eco-conscious homeowners |
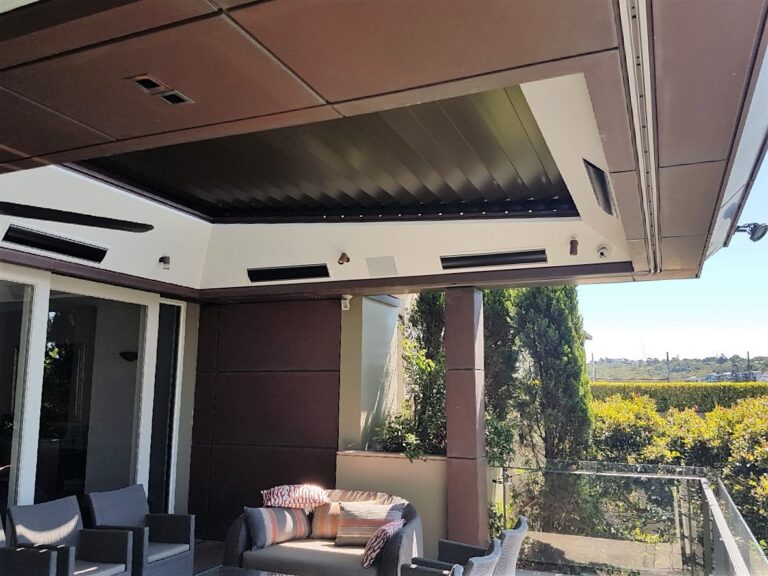
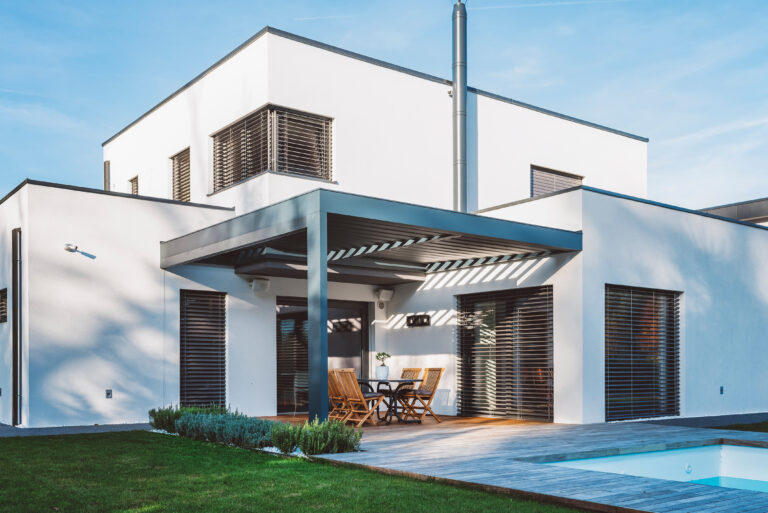
A DIY louvre roof comes in pre-measured, easy-to-install kits—perfect for patios, decks, pool areas, and gardens.
Why Choose a Self-Install Louvre Kit?
Installing a self-install louvre kit has several benefits over hiring professionals:
Cost-Effective
Save on labour costs while investing in higher-quality materials.
Customisable
Choose your preferred finish, dimensions, and operation style (manual or motorised).
Satisfaction of DIY
Build it at your own pace and enjoy the reward of your own craftsmanship.
Planning Your DIY Louvre Roof Project
Before you begin, proper planning is essential.
Key Considerations:
Pro Tip: Check with your local council for any building permits required for outdoor roofing structures.
Tools & Materials You’ll Need
Before installation, gather the following:
Tools Checklist:
Materials (Usually Included in Kit):
Step-by-Step Installation Guide
Here’s a simplified process for installing a DIY louvre roof:
Step 1: Prepare the Site
Step 2: Install the Frame
Step 3: Mount the Louvres
Step 4: Weatherproofing
Maintenance & Troubleshooting
Routine Maintenance Tips:
Common Troubleshooting:
| Problem | Solution |
| Louvres stuck or stiff | Clean tracks and apply silicone lubricant |
| Remote not working | Replace batteries or reset receiver |
| Water leaks | Check joint seals and gutter slopes |
Safety & Compliance Checklist
Before You Begin:
During Build:
After Build:
Conclusion
A DIY louvre roof is one of the smartest investments you can make for your outdoor space offering comfort, style, and weather control in a sleek, modern design. With the rise of self-install louvre kits, creating your dream pergola DIY setup has never been easier or more affordable.
By following this guide, you’re ready to take on your project confidently—and enjoy your outdoor retreat in any season.
Ready to get started? Find a trusted supplier and start building your custom louvre roof today!
Frequently Asked Questions
How long does it take to install a DIY louvre roof?
It usually takes 1–2 days for two people to complete a standard-size kit.
Can I motorise my louvre roof later?
Yes, most manual kits can be retrofitted with a motor—check compatibility before purchase.
Do I need council approval?
For most fixed installations in Australia, yes—check with your local council.
What’s the best material for louvre kits?
Powder-coated aluminium is lightweight, rust-resistant, and durable for all climates.
Can I install it alone?
It’s possible, but a second pair of hands is highly recommended for lifting and alignment.