How to Install a Motorised Roof System for Maximum Comfort
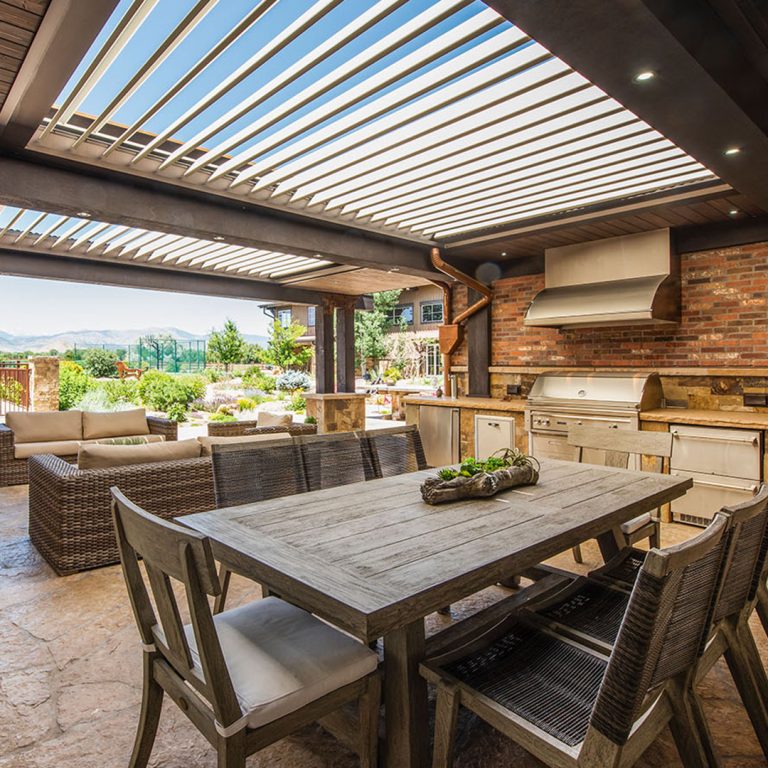
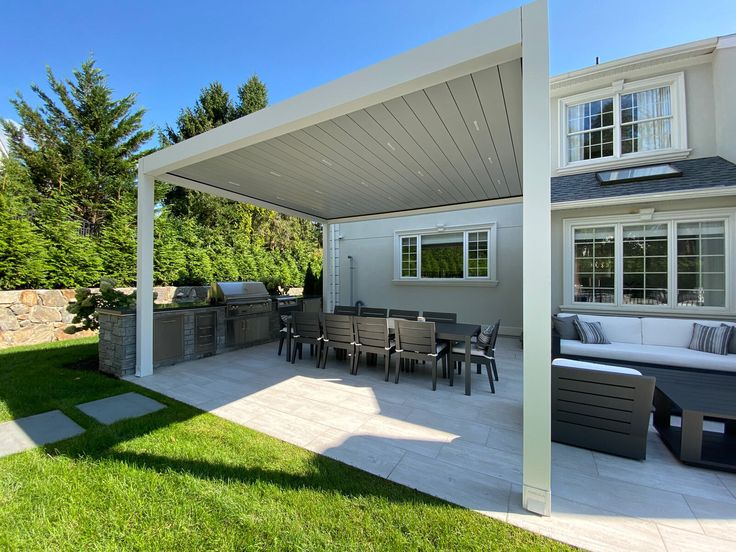
A motorised roof system is the perfect addition to any outdoor space, providing adjustable shade, weather protection, and improved ventilation. With just the push of a button, you can control sunlight, airflow, and temperature, ensuring maximum comfort in your patio, deck, or outdoor entertainment area.
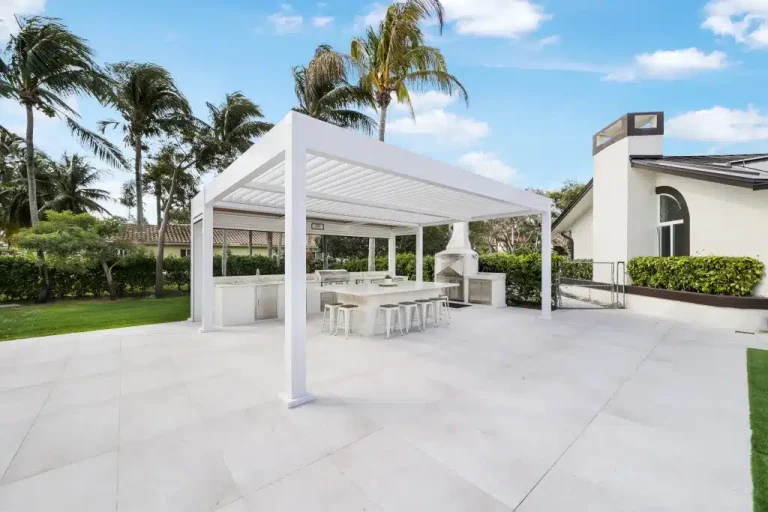
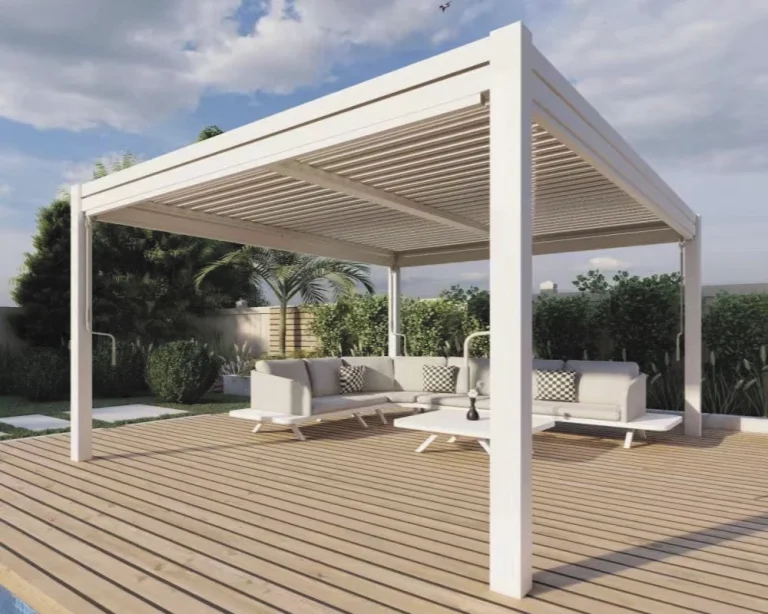
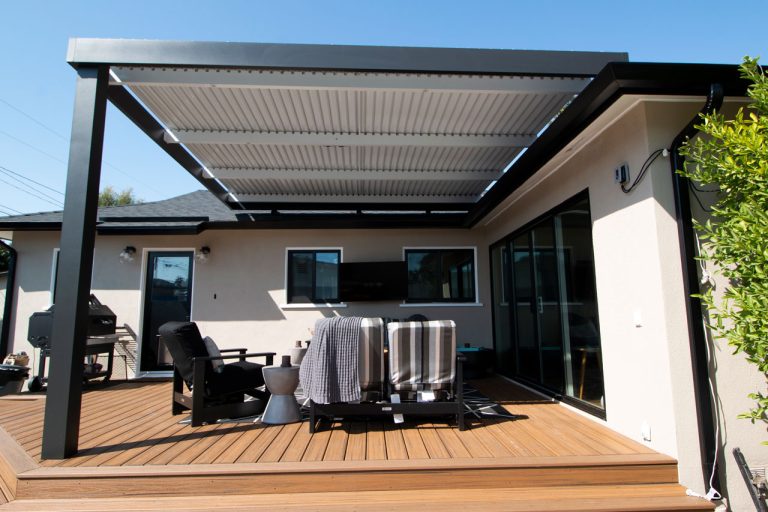
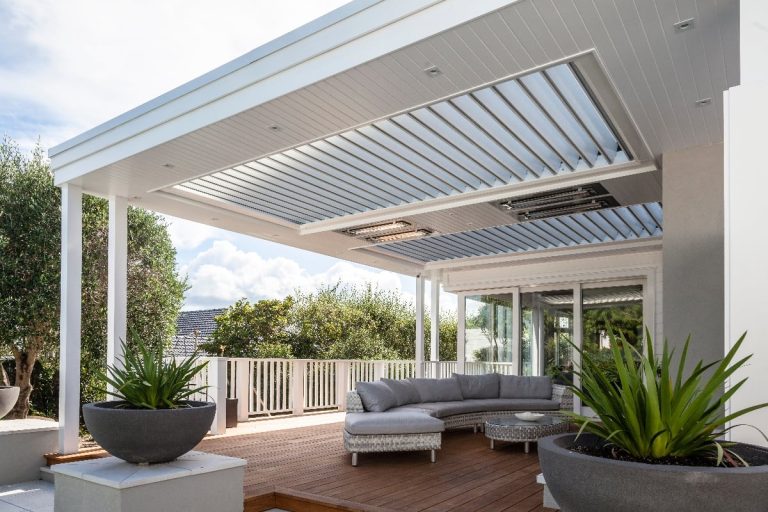
Unlike traditional pergolas, a motorised louvre roof features automated louvres that tilt or fully open, adapting to different weather conditions. Whether you’re shielding from the sun, enjoying natural airflow, or seeking protection from the rain, an electric louvred pergola delivers both functionality and elegance.
In this guide, we’ll cover the step-by-step installation process, from planning and assembling the frame to integrating the motorised system. Whether you’re a DIY enthusiast or considering professional installation, follow this guide to create a fully automated outdoor retreat that enhances both comfort and property value.
Choosing the Right Motorised Louvred Pergola
Before installation, consider the following factors to choose the best motorised louvre roof for your needs:
| Factor | Considerations |
| Material | Aluminium (durable, rust-resistant) vs. Timber (aesthetic appeal) |
| Motor Type | Wired motor, remote control, or smart home integration |
| Weather Resistance | Windproof, waterproof coatings for durability |
| Size & Coverage | Based on outdoor space dimensions |
| Budget | Compare different brands and features |
Measuring Your Space
Accurate measurements ensure a seamless fit and proper function of the roof system. Use the following tools:
Checking Local Regulations
Before installation, verify:
Assembling the Frame
The frame serves as the foundation of your louvred roof. Follow these steps:
Installing the Louvres
Louvres are the adjustable slats that allow sunlight and airflow control. To install:
Integrating the Motorised System
The motor is the core component of your automatic louvred pergola. Follow these steps for installation:
Step 1: Choose the Motor Type
| Motor Type | Features |
| Wired Motor | Requires electrical connection, stable operation |
| Remote-Controlled Motor | Operates via handheld remote |
| Smart Motor | Integrates with voice assistants like Alexa & Google Home |
Step 2: Wiring & Electrical Setup
Important Safety Measures:
Step 3: Connect to the Control System
Step 4: Troubleshooting Motor Issues
| Issue | Solution |
| Louvres not responding | Check power supply & remote batteries |
| Motor making noise | Lubricate moving parts |
| Uneven louvre movement | Adjust alignment & re-secure fasteners |
Maintenance and Longevity Tips
To keep your motorised louvred pergola functioning optimally:
A well-maintained electric louvred pergola can last 15+ years with proper care!
Conclusion
Installing a motorised roof system is an excellent way to upgrade your outdoor space with modern comfort and convenience. Whether you choose a DIY installation or hire professionals, following these steps ensures a seamless setup and long-lasting durability.
A motorised louvre roof not only enhances aesthetic appeal but also boosts property value. With automated control, you can effortlessly adjust sunlight, airflow, and weather protection.
Ready to enhance your outdoor space? Explore high-quality louvred roof systems at Louvred Roof Online today!
Frequently Asked Questions
How long does it take to install a motorised louvre roof?
Installation typically takes 1–3 days, depending on the size and complexity of the system.
Can I install a motorised roof system myself?
Yes, with the right tools and knowledge. However, professional installation is recommended for complex electrical setups.
How do I control my motorised louvred pergola?
Most systems come with a remote control, but some advanced models offer smart home integration for voice and app-based control.
Are motorised louvre roofs waterproof?
Yes, high-quality louvred roofs feature waterproof coatings and built-in drainage systems to handle rain efficiently.