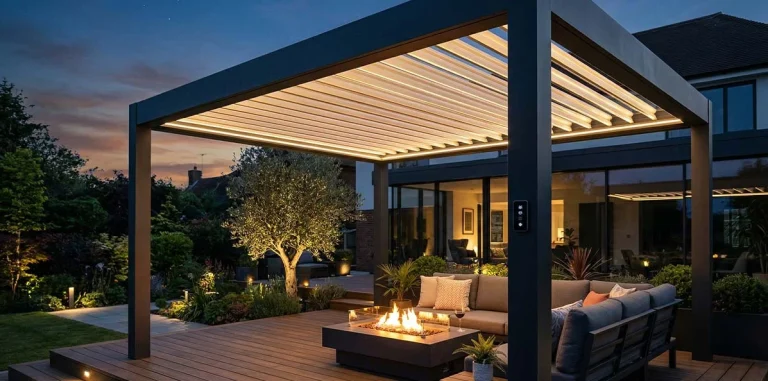
How to Build a DIY Motorised Pergola: A Complete Guide
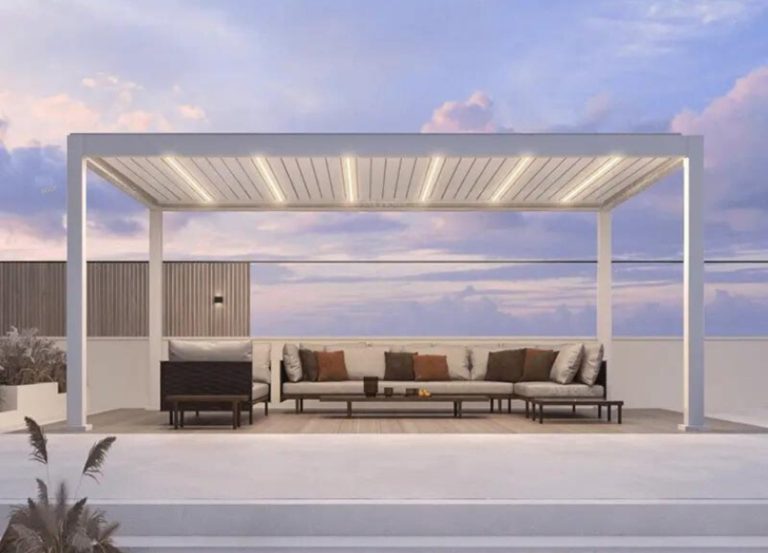
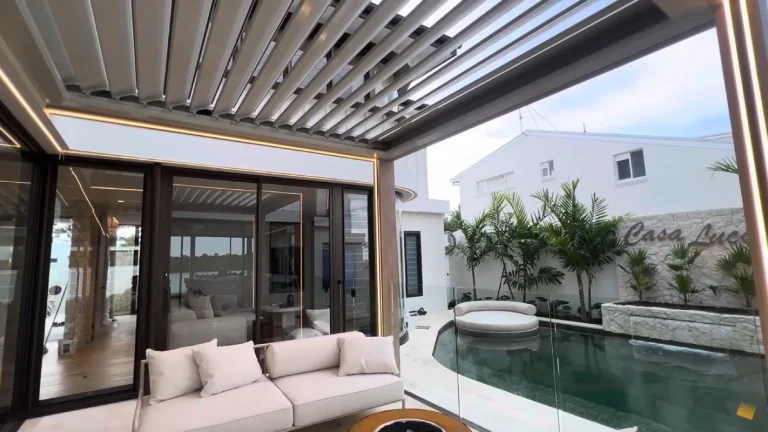
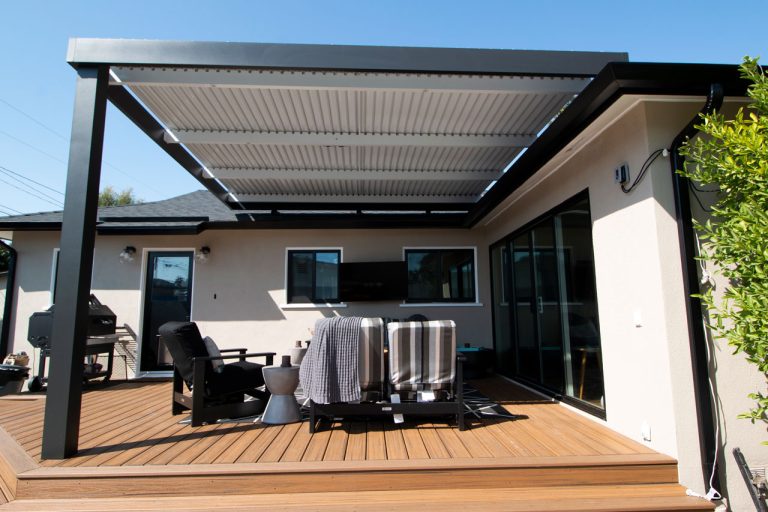
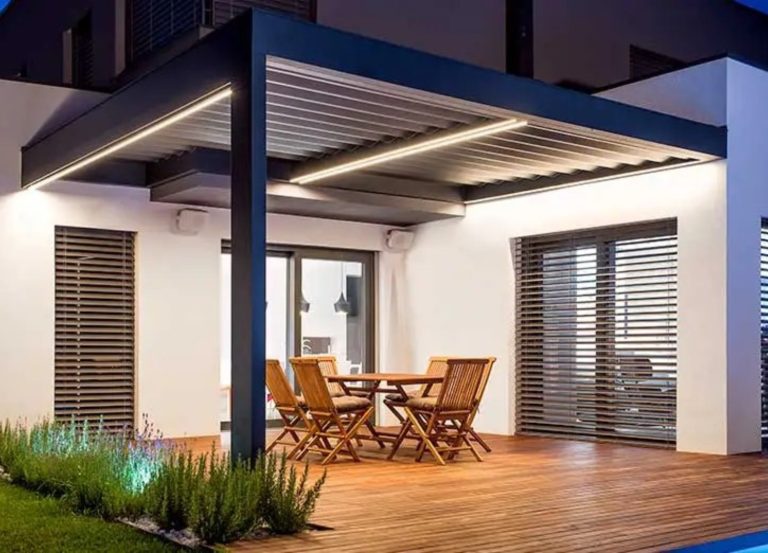
A motorised pergola can elevate your outdoor space, giving you control over sunlight, shade, and ventilation with just the touch of a button. More people are turning to DIY motorised pergola projects, not only for the cost savings but also for the satisfaction of creating a custom solution tailored to their space.
In this comprehensive guide, we’ll walk you through everything you need to know to build your own DIY motorised pergola from choosing materials and tools to installation tips and maintenance.
Benefits of a Motorised Pergola
Why Choose a Motorised Pergola?
Building a motorised pergola comes with several unique benefits that go beyond the traditional fixed-roof pergola:
Tools & Materials You’ll Need
Essential Tools for DIY Motorised Pergola Installation
Before diving into your project, make sure you have the right tools and materials on hand. Below is a list of the essentials:
| Tools | Materials |
| Power drill and bits | Motorised louvre system kit |
| Tape measure | Support beams (Aluminium or Wood) |
| Ladder | Anchor bolts and brackets |
| Spirit level | Louvres and weatherproof sealant |
| Wiring kit for motor connection | Electrical wiring (for motorised components) |
Having these tools will ensure a smooth and efficient installation process.
Step-by-Step DIY Motorised Pergola Installation Guide
1. Preparing Your Site
Before starting construction, clear and level the area where your pergola will be installed. Measure the space to ensure proper fit and layout. This is key to ensuring stability and durability.
2. Assembling the Pergola Frame
Install the Base Plates and Support Posts
Start by fixing the base plates to the ground where your support posts will be installed. Use a spirit level to ensure that all posts are vertically aligned. Secure the posts using anchor bolts and brackets.
Connect the Horizontal Beams
Once the support posts are securely in place, connect the horizontal beams that will form the framework for the pergola roof. Ensure everything is level and properly aligned.
Installing the Motorised Louver System
Wiring the Motorised Mechanism
Follow the manufacturer’s instructions to wire the motorised system. If you are unfamiliar with electrical wiring, consider consulting a professional electrician for this part. Proper wiring ensures your system functions smoothly.
Attaching Louvres and Testing Functionality
After connecting the motorised components, attach the louvres to the frame. Test the louvre system to ensure smooth operation—open and close them several times to check for any misalignments.
Common Mistakes to Avoid
Here are some common pitfalls to watch out for during your DIY motorised pergola project:
Maintenance Tips for Longevity
To keep your motorised pergola in top condition, regular maintenance is essential. Here’s what you can do:
Conclusion
Building your own DIY motorised pergola is a rewarding project that can enhance the functionality and aesthetics of your outdoor living space. By following the steps outlined in this guide, you can create a pergola that not only provides shade and shelter but also adds a modern, automated touch to your home.
Frequently Asked Questions
How long does it take to build a DIY motorised pergola?
It typically takes 2-3 days depending on the size and complexity of the project.
Is it easy to wire the motorised mechanism yourself?
For those unfamiliar with electrical work, it’s best to consult an electrician for wiring the motor.
Can a DIY motorised pergola be integrated with smart home systems?
Yes, many motorised pergola systems can be integrated with smart home systems for seamless control.
How much does a motorised pergola cost?
Depending on the size and materials, you can check out our product pages for more details.
Are motorised pergolas weather-resistant?
Yes, they are designed to withstand various weather conditions, especially when built with weatherproof materials like aluminium.