DIY Louvered Roof: The Ultimate Step-by-Step Guide for Homeowners
A DIY Louvered Roof offers homeowners the perfect blend of creativity, functionality, and cost-effectiveness. Whether you want to enhance your patio, deck, or backyard, installing a louvered roof system yourself allows you to enjoy shade and ventilation on demand, without breaking the bank.
In this comprehensive guide, we’ll cover everything you need to know about DIY louvered roofs from their types and materials to a complete installation process, tools required, and maintenance tips.
What Is a DIY Louvered Roof?
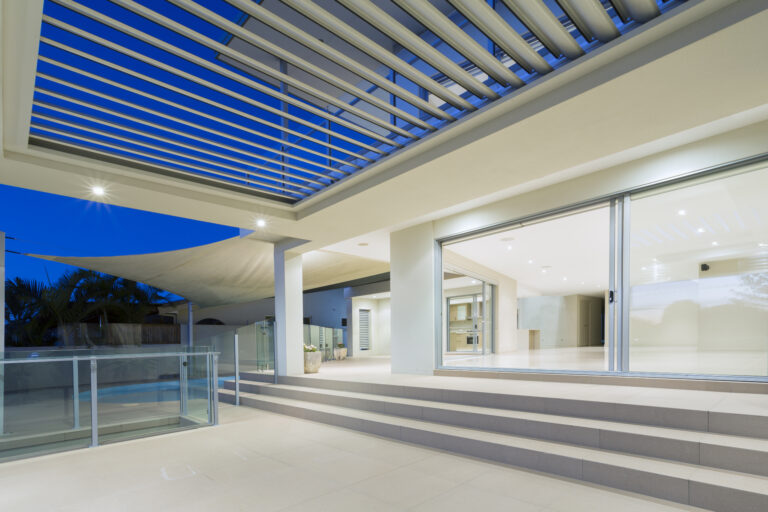
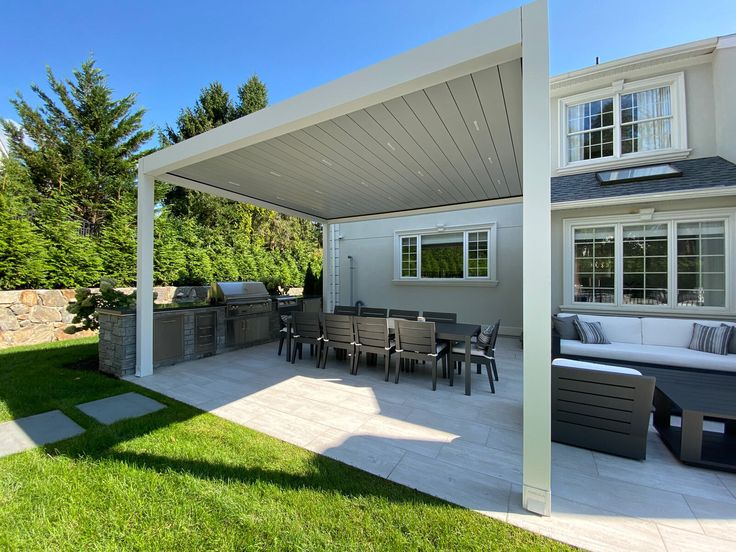
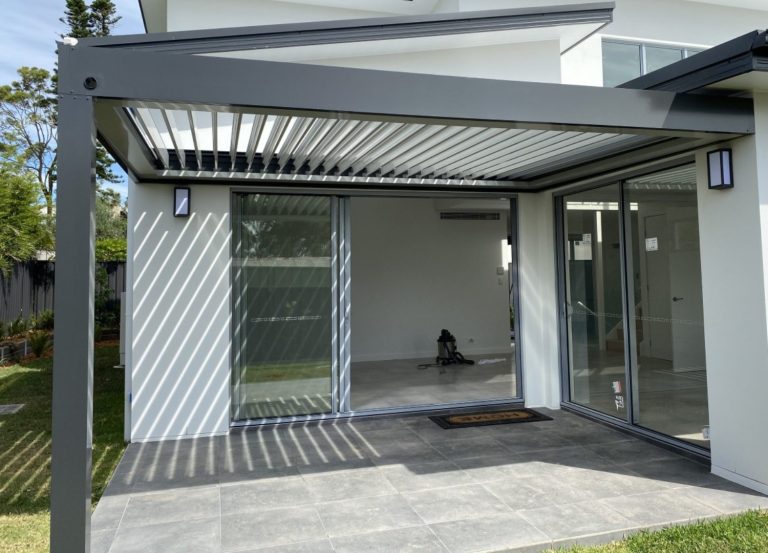
A louvered roof is a shading system with adjustable slats (called louvers) that can be tilted to control sunlight, ventilation, and rain protection. A DIY louvered roof system is a kit-based or modular version designed for homeowners who prefer to install it themselves instead of hiring professionals.
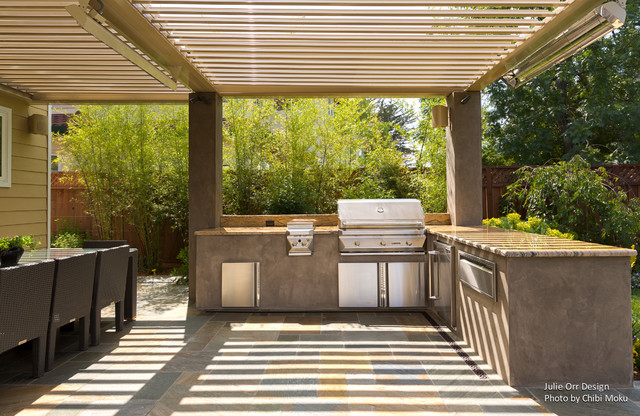
These systems can be installed over patios, decks, pergolas, or outdoor kitchens, adding comfort, style, and energy efficiency to outdoor spaces.
Why Choose a DIY Louvre Roof?
Choosing a DIY louvre roof is about more than saving money. It’s about customisation, satisfaction, and sustainability. Here’s why many homeowners prefer the DIY route:
Types of DIY Louvered Roof Systems
Before starting your project, it’s important to understand the different types of DIY louvered roofs available. Your choice will depend on your skill level, desired functionality, and budget.
1. Manual Louvered Roof Systems
Manual systems allow you to open or close the louvers using a hand crank or lever.
2. Motorised Louvered Roof Systems
These systems use an electric motor (often remote-controlled or app-controlled) to adjust louver angles automatically.
3. Solar-Powered Louvered Roof Systems
An eco-friendly version of motorised systems, powered by solar panels.
4. Freestanding Vs Attached Systems
Step-by-Step Installation Guide for a DIY Louvered Roof
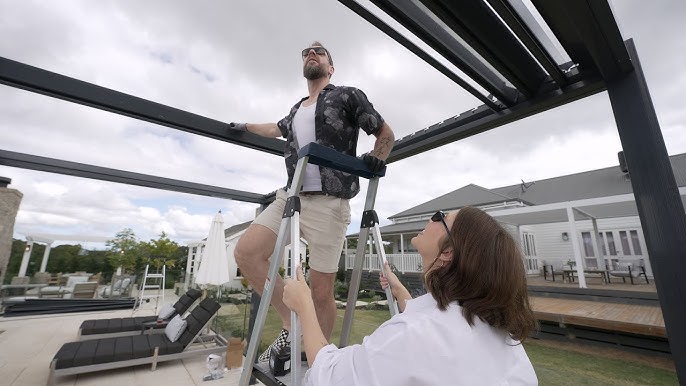
Installing your own DIY louvred roof system can be both rewarding and efficient if done carefully. Follow this step-by-step installation guide to build your perfect outdoor shade.
Step 1: Planning and Measurement
Before starting, assess your outdoor area.
Step 2: Gather the Tools and Materials
You’ll need some basic tools to complete the installation efficiently.
Tools Required
Materials Required
Step 3: Prepare the Foundation
Your foundation ensures stability and safety.
Step 4: Assemble the Frame
Once the foundation is ready:
Step 5: Install the Louvers
This is where your DIY louvre roof comes to life.
Step 6: Wiring and Automation (For Motorised Systems)
If you’re using a motorised louvered roof, follow the manufacturer’s wiring guide carefully.
Step 7: Finishing Touches
Design and Aesthetic Ideas for DIY Louvered Roofs
A DIY louvered roof doesn’t have to be purely functional, it can also enhance your home’s visual appeal. Here are some design ideas for inspiration:
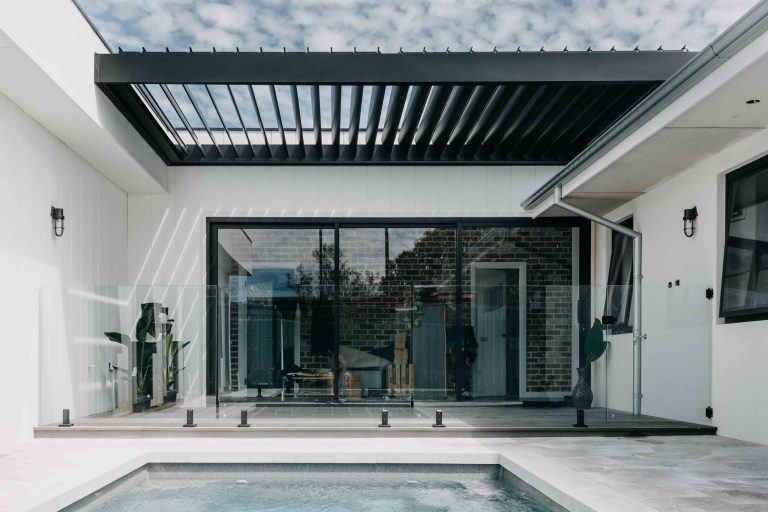
1. Minimalist Aluminum Frame
A clean, modern aesthetic ideal for contemporary homes. Pair it with LED strips or smart lighting.
2. Timber Finish Louvers
Wooden louvers bring warmth and natural beauty, perfect for classic or rustic themes.
3. Contrasting Colors
Combine black frames with white louvers for a bold, architectural statement.
4. Pergola Integration
Integrate your louvered roof with an existing pergola for a seamless outdoor extension.
5. Retractable Louvers
Consider hybrid systems with retractable louvers for full sky exposure when needed.
Benefits of Installing a DIY Louvered Roof
Building your own DIY louvre roof system delivers both aesthetic and practical benefits.
1. Weather Control
Adjustable louvers provide full control over sunlight and rain protection.
2. Increased Home Value
An elegant louvered roof enhances property appeal and outdoor usability.
3. Energy Efficiency
Reduces indoor heat gain, lowering cooling costs during summer.
4. Customisation
From frame color to louver material, everything can be tailored to your taste.
5. Cost Savings
Save thousands by assembling your own system without professional labor.
6. Long-Term Durability
Modern aluminum and powder-coated systems are corrosion-resistant and low-maintenance.
Maintenance Tips for Your DIY Louvered Roof
Common Mistakes to Avoid
Residential Vs Commercial DIY Louvered Roofs
| Feature | Residential Systems | Commercial Systems |
| Purpose | Home patios, decks, gardens | Cafes, restaurants, outdoor lounges |
| Size | Smaller and lightweight | Larger, heavy-duty |
| Operation | Often manual or small motorised | Fully automated with sensors |
| Design Focus | Aesthetics & comfort | Durability & customer experience |
| Cost | Budget-friendly | Higher investment |
Conclusion
Installing a DIY louvered roof is one of the most rewarding home improvement projects you can undertake. It transforms your outdoor area into a functional, beautiful, and weather-controlled living space , perfect for relaxation or entertaining guests.
Whether you choose a manual, motorised, or solar-powered system, your new louvre roof will enhance comfort, boost property value, and create a seamless indoor-outdoor experience.
Frequently Asked Questions
Is a DIY louvered roof difficult to install?
Not really. Most DIY kits come with pre-drilled holes and assembly instructions. With basic tools and patience, most homeowners can complete installation within a weekend.
How much does a DIY louvre roof cost?
Depending on size and materials
Can I install a motorised louvered roof myself?
Yes, but ensure you follow electrical safety standards or hire an electrician for wiring tasks.
Are DIY louvered roofs waterproof?
Yes. When louvers are fully closed, they form an interlocking seal that channels rainwater to the drainage system.
What’s the best material for a louvered roof?
Powder-coated aluminum is the most durable, weather-resistant, and low-maintenance option for most climates.
Can I attach a louvered roof to an existing pergola?
Absolutely. Many DIY kits are designed to retrofit onto existing pergolas or outdoor frames.
Do I need council approval to install one?
Depending on your region and size of structure, you might need local council approval. Always check your area’s building codes first.
How long does a louvered roof last?
With proper maintenance, aluminum louvered roofs can last 15–25 years.